


General WordPress settings: essential configuration
When we install WordPress for the first time, it is essential to spend a few minutes correctly configuring its main settings.
A good initial setup improves security, SEO, user experience, and prevents future problems.
In this guide, you will learn, step by step, what each important WordPress setting is for and how to configure it correctly, even if you have never used WordPress before.
⚙️ General WordPress settings: essential configuration
All the settings we will see below are located in the WordPress sidebar menu.
🔗 Permalinks (VERY IMPORTANT)
📍 Location: Settings → Permalinks

Permalinks define the structure of website URLs.
Recommended setting: ✅ Post name
So that the URLs look like this:
https://yoursite.com/my-article
🚫 Avoid URLs with numbers or parameters like the “Plain” option where URLs will always appear with a number at the end, and choose “Post name”.
🌍 General Settings: Title, description, favicon, site address, admin email, language, date and time
📍 Location: Settings → General
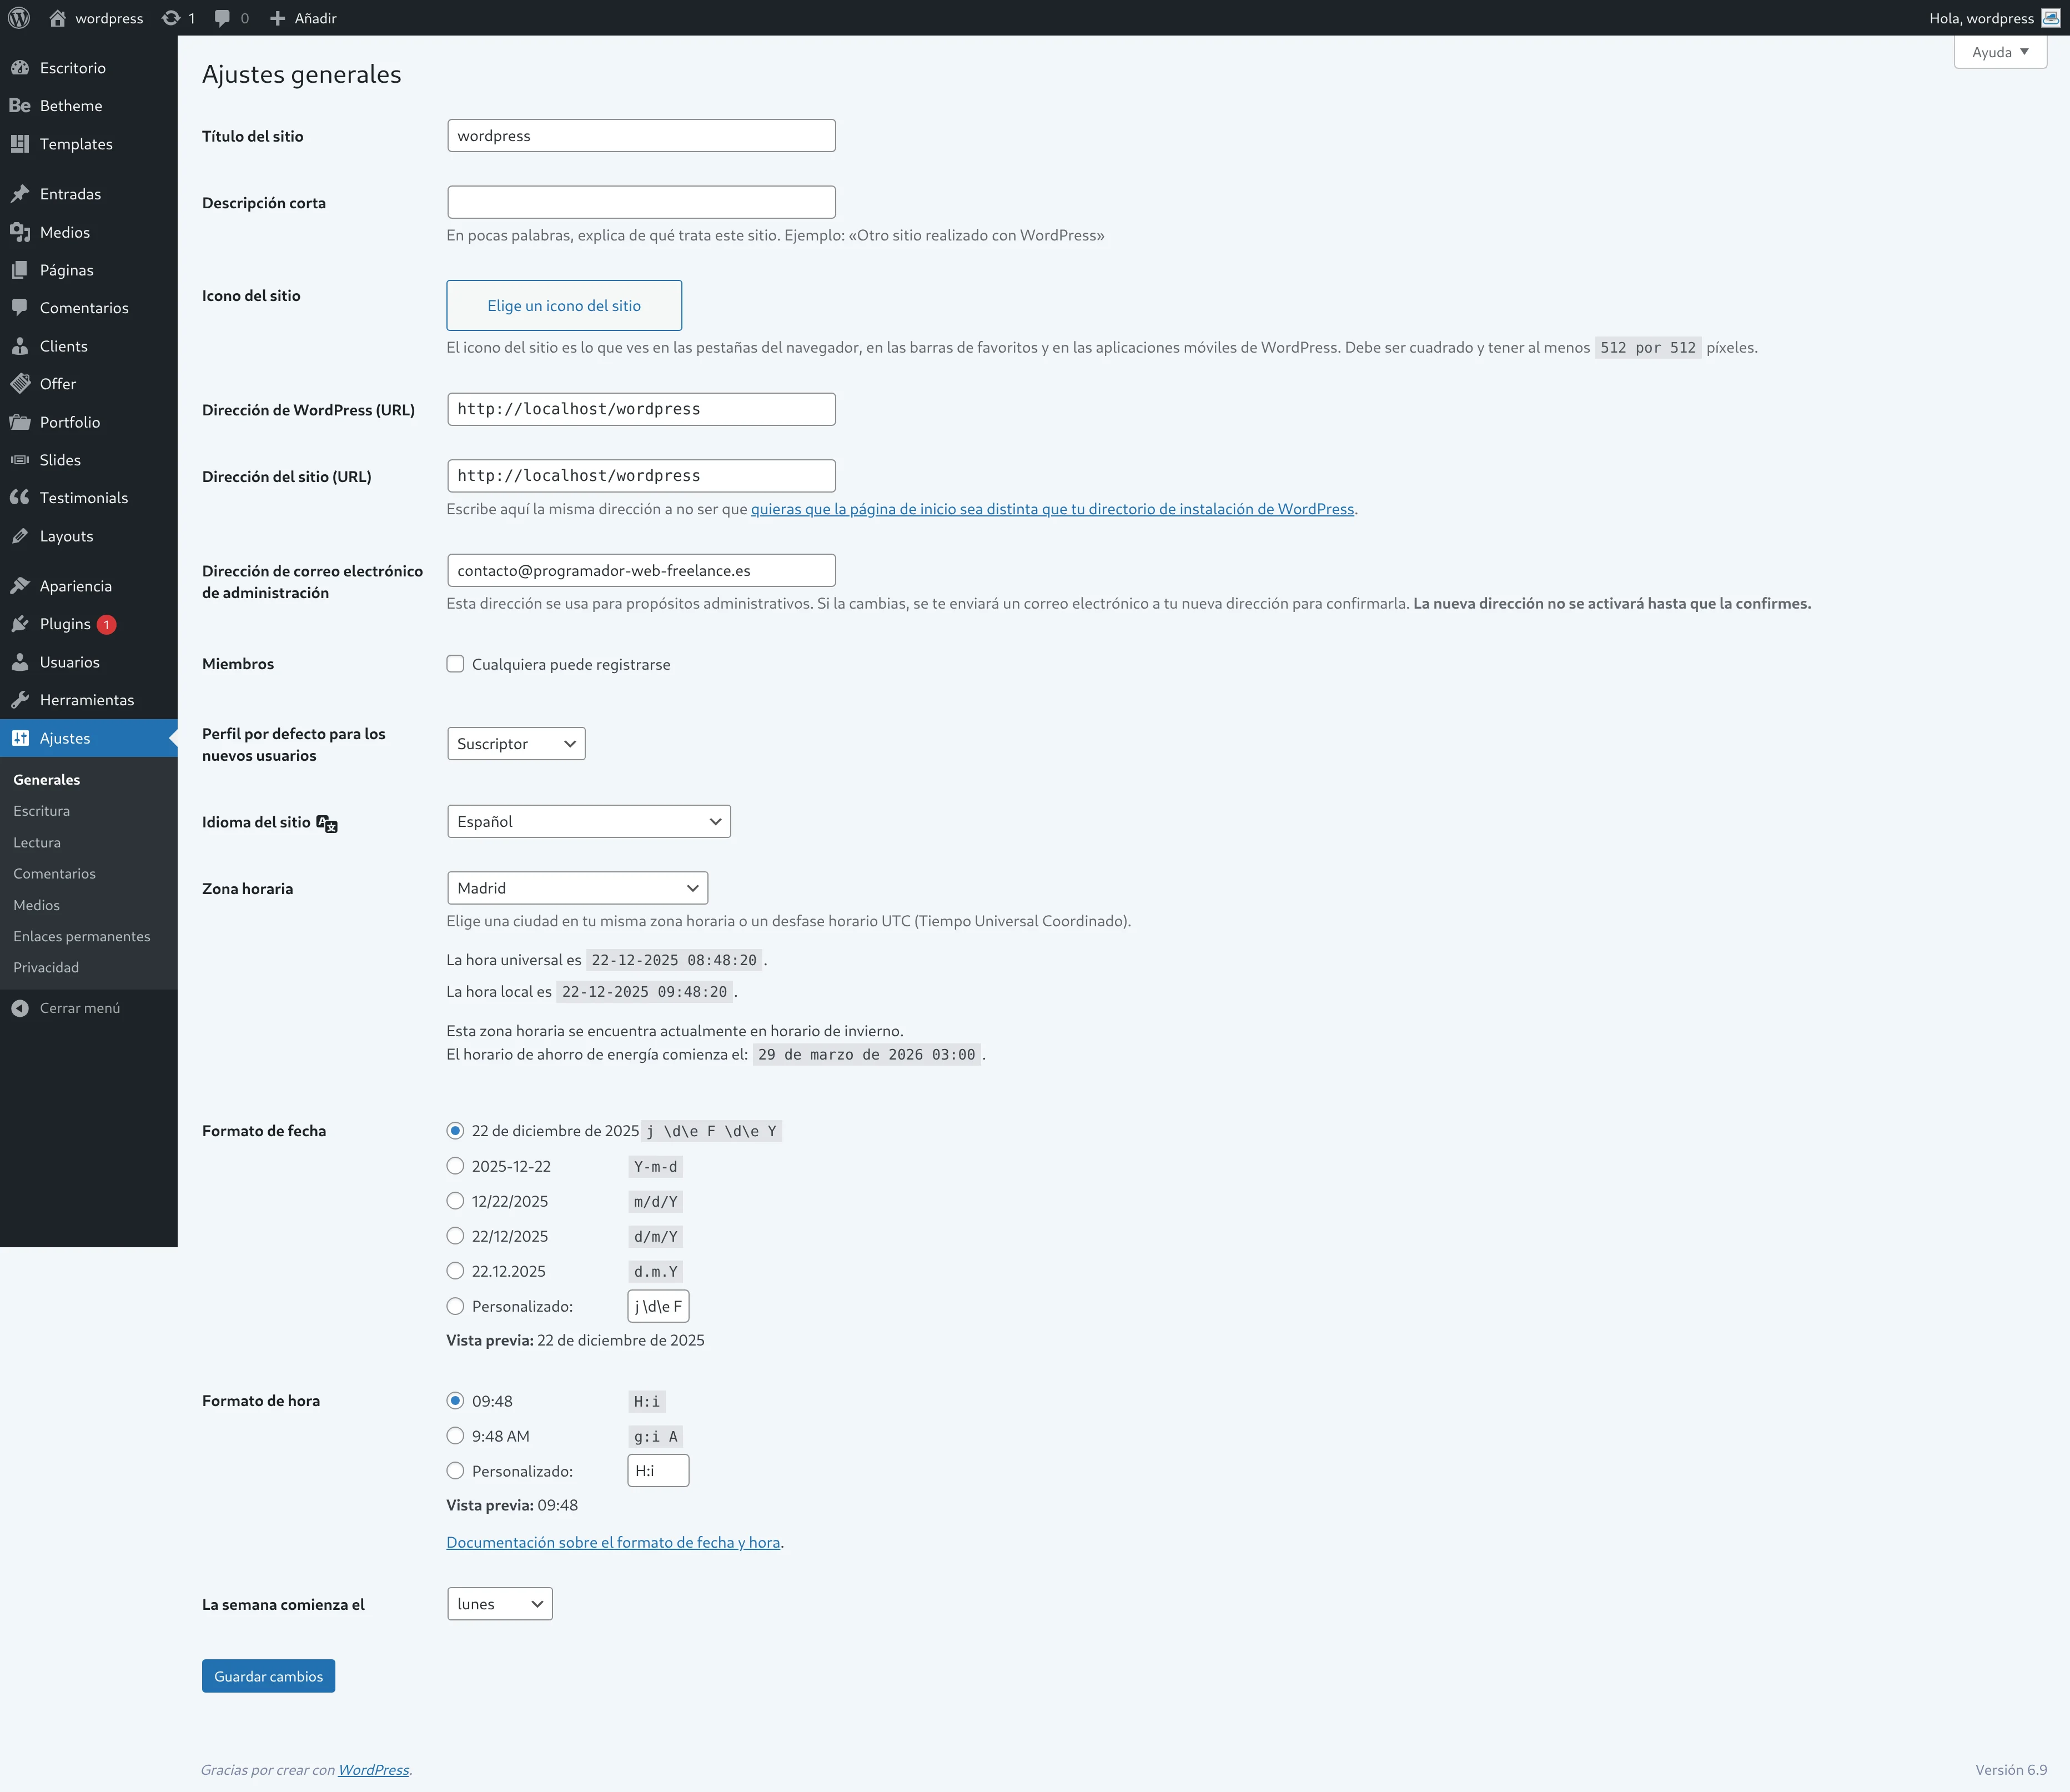
Allows you to define all these sections.
- Site Title: The title of the website, it will appear in the browser tabs.
- Tagline: A short description of the website, it will also appear in the browser tab along with the title.
- Site Icon: The icon/image/favicon that accompanies the website in browser tabs. It must be square, recommended at least 512×512 px.
- WordPress Address (URL): The main URL address of our WordPress website (usually the same URL).
- Site Address (URL): The URL address of the main site if there is one (usually the same URL).
- Administration Email Address: Where website email notifications will be sent.
- Site Language:
- Affects the administration panel.
- Affects compatible plugins and themes.
- Improves user experience.
- Correct Timezone.
- Date Format. (This is how the date will be displayed in posts)
- Time Format. (This is how the time will be displayed in posts)
- Week Starts On.
👉 Very important for scheduled posts and events.
🖼️ Site Logo and Favicon
📍 Location: Appearance → Customize → Site Identity
In the column, the “Logo” and “Site Icon” options will appear.
“Logo”: depending on our installed Theme, it will appear in one way or another in the website header and we will need one image size or another.
“Site Icon”: as we saw before, this is the favicon. It can also be modified here.

🏠 Set a page as Home, 📰 Set a page as Blog and whether search engines should find you or not
📍 Location: Settings → Reading
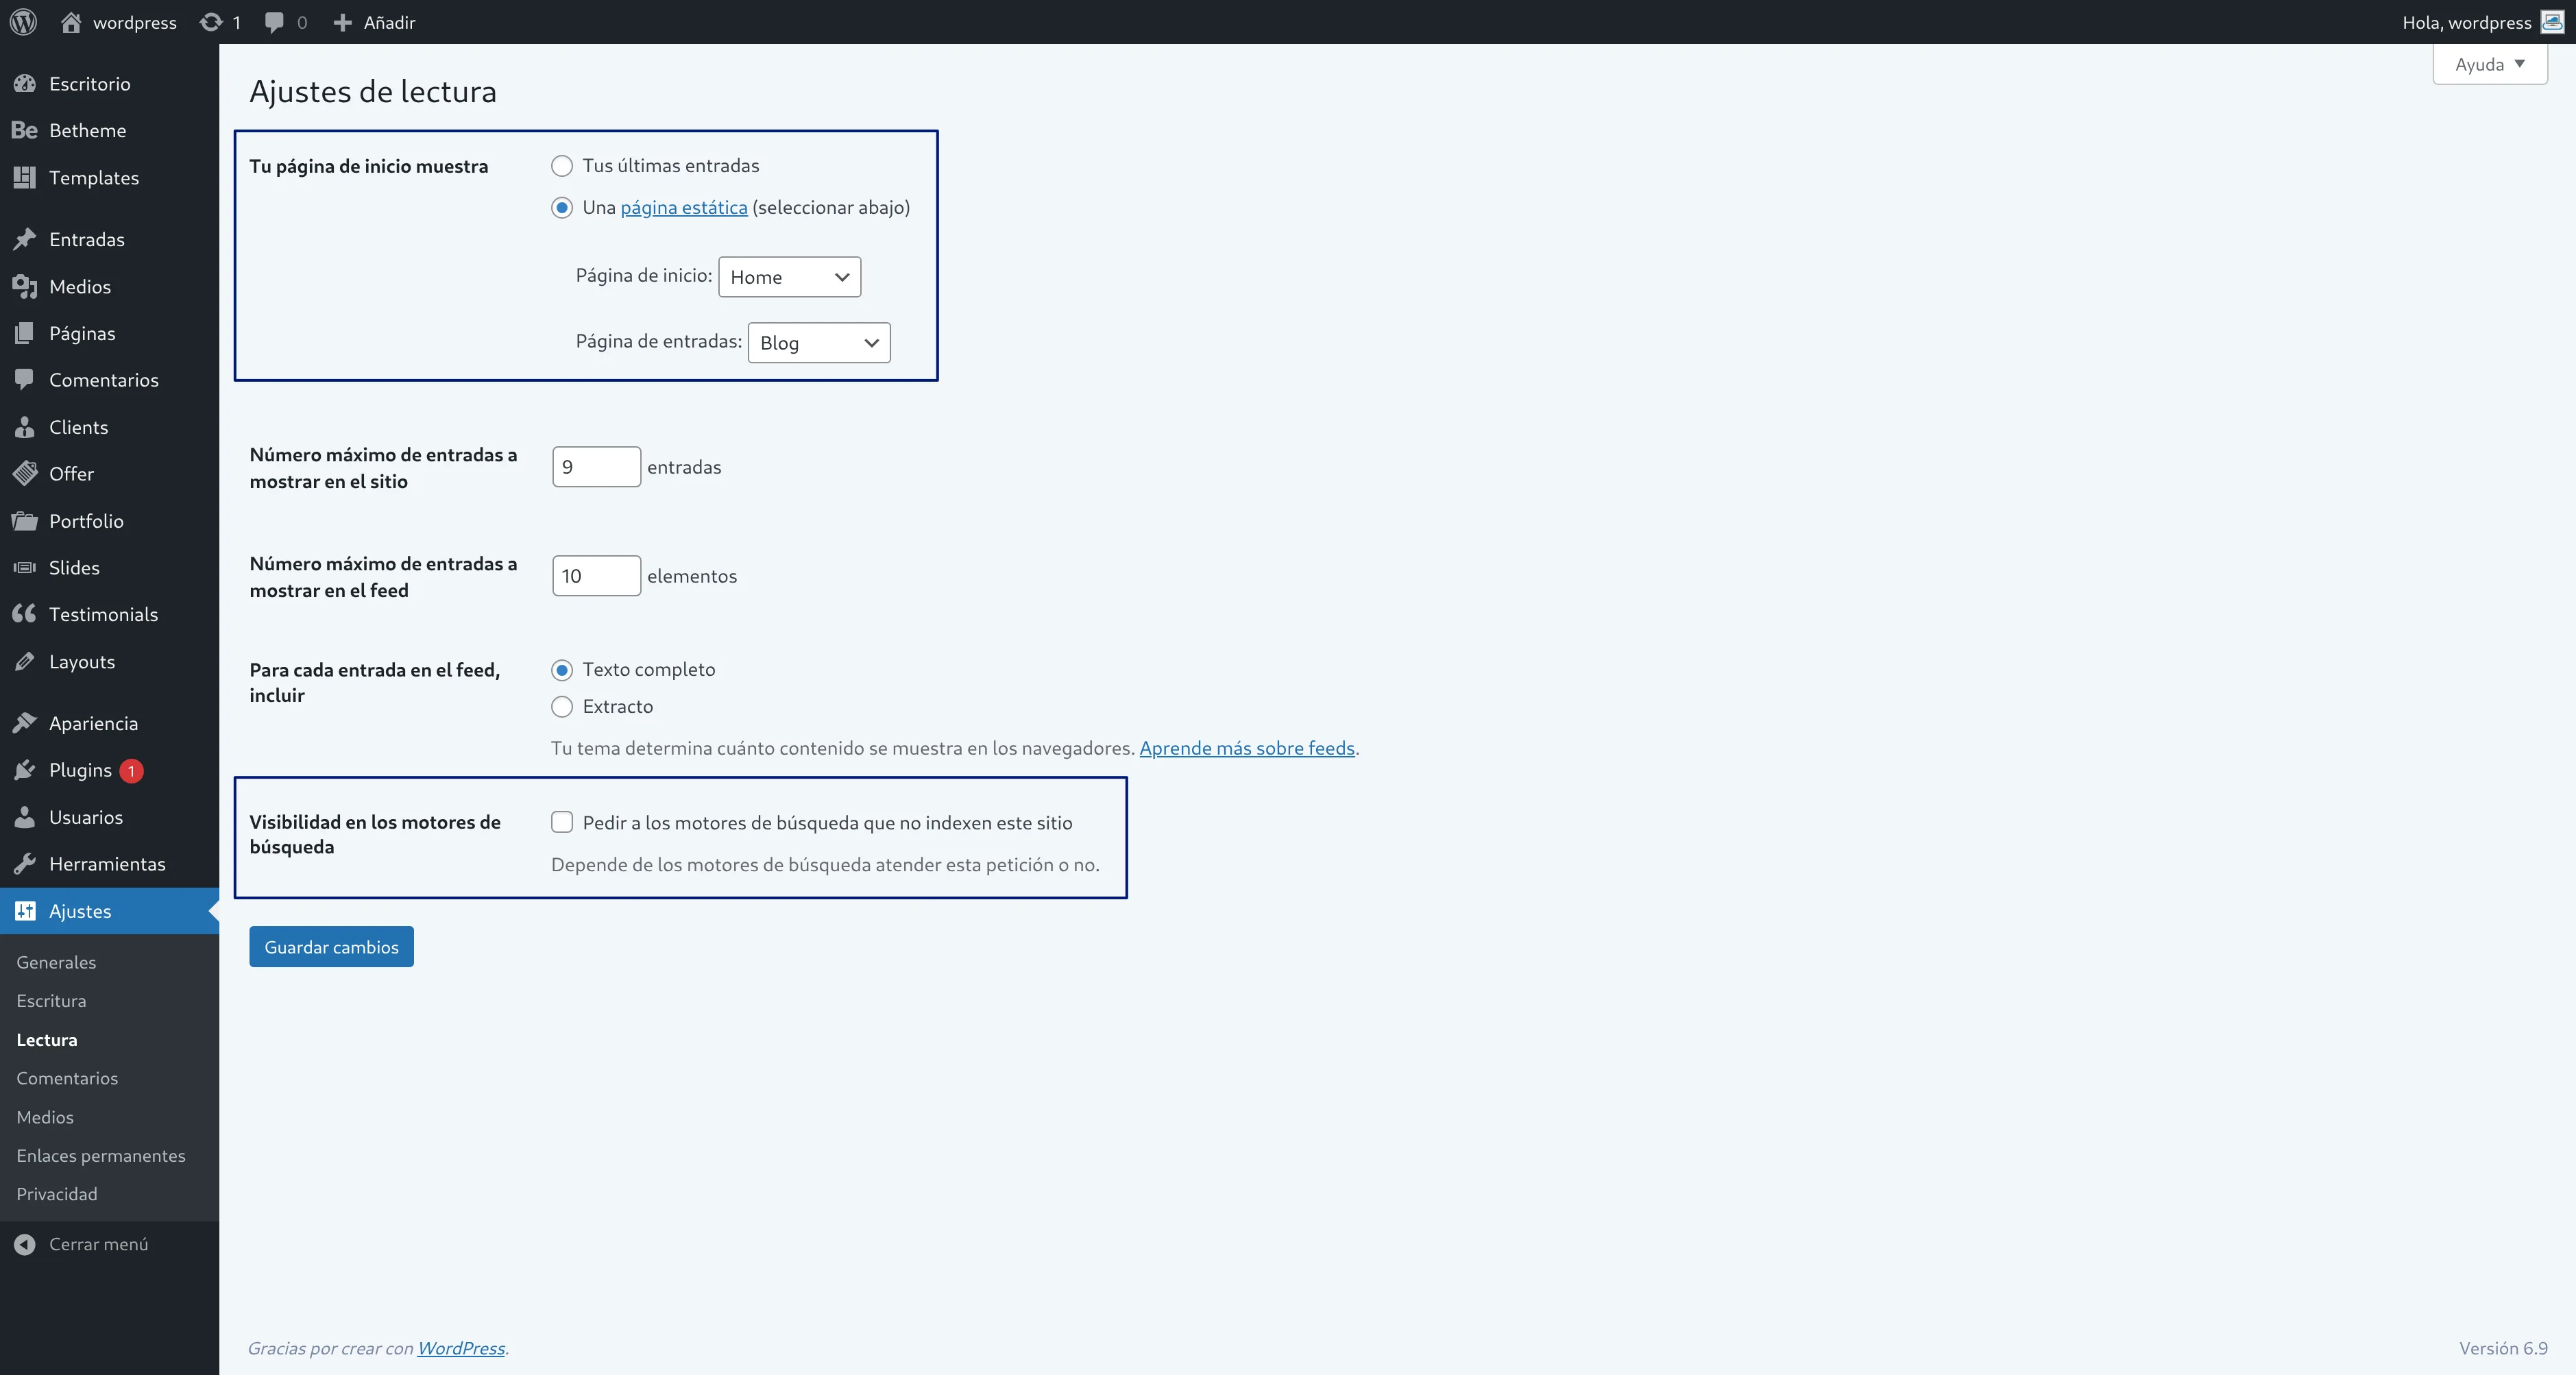
You can choose in “Your homepage displays”:
- Show “Your latest posts” (Functions like a blog, meaning posts will be seen directly when entering the website; this is the default setting).
- Show “A static page” (one page as the homepage and another page as the news page).
👉 The second option is ideal for corporate websites, online stores, and complete pages with multiple sections that are not just a blog.
Go to “Pages → All Pages” and create two pages, for example:
- “Home”.
- “Blog”.
In the content of the “Home” page, click “Edit”, type “hello world!” and save.
Go back to “Settings → Reading” and select “A static page“, and choose one as the Homepage and the other as the Posts page (blog).
When you enter your website again on the public side, you will now see the “hello world!” page instead of the posts page, and the posts page will be at this path: localhost/yoursite/blog
You will see that at the top, a menu has been automatically created with your two pages “Home” and “Blog”, and all your created pages will be added unless we create a “Custom Primary Menu”.
👁️ Search engine visibility
📍 Location: Settings → Reading
This option appears: “Discourage search engines from indexing this site. It is up to search engines to honor this request or not.”
- ❌ Check if the site is under development.
- ✅ Uncheck when it is public.
⚠️ Very important:
If checked, Google will NOT index your site.
📋 Create a custom Primary Menu
📍 Location: Appearance → Menus

In “Menu Name” type the name, for example “Primary Menu” and click “Create Menu“.
We have created an empty menu. Now we need to add sections to the menu.
On the left will be the sections we have created:
Add them to the right side by selecting the pages and clicking the “Add to Menu” button.
Check the box “Primary Menu” or similar (the name may vary depending on the installed Theme, the intention is to indicate that it is the primary menu) and click “Save Menu”.
If you expand each page, some options will appear and you can change the title that appears in the menu, for example, change “Home” to “Inicio” and “Blog” to “Noticias”.
You can also click and drag each section to change the order.
💬 Discussion settings
📍 Location: Settings → Discussion
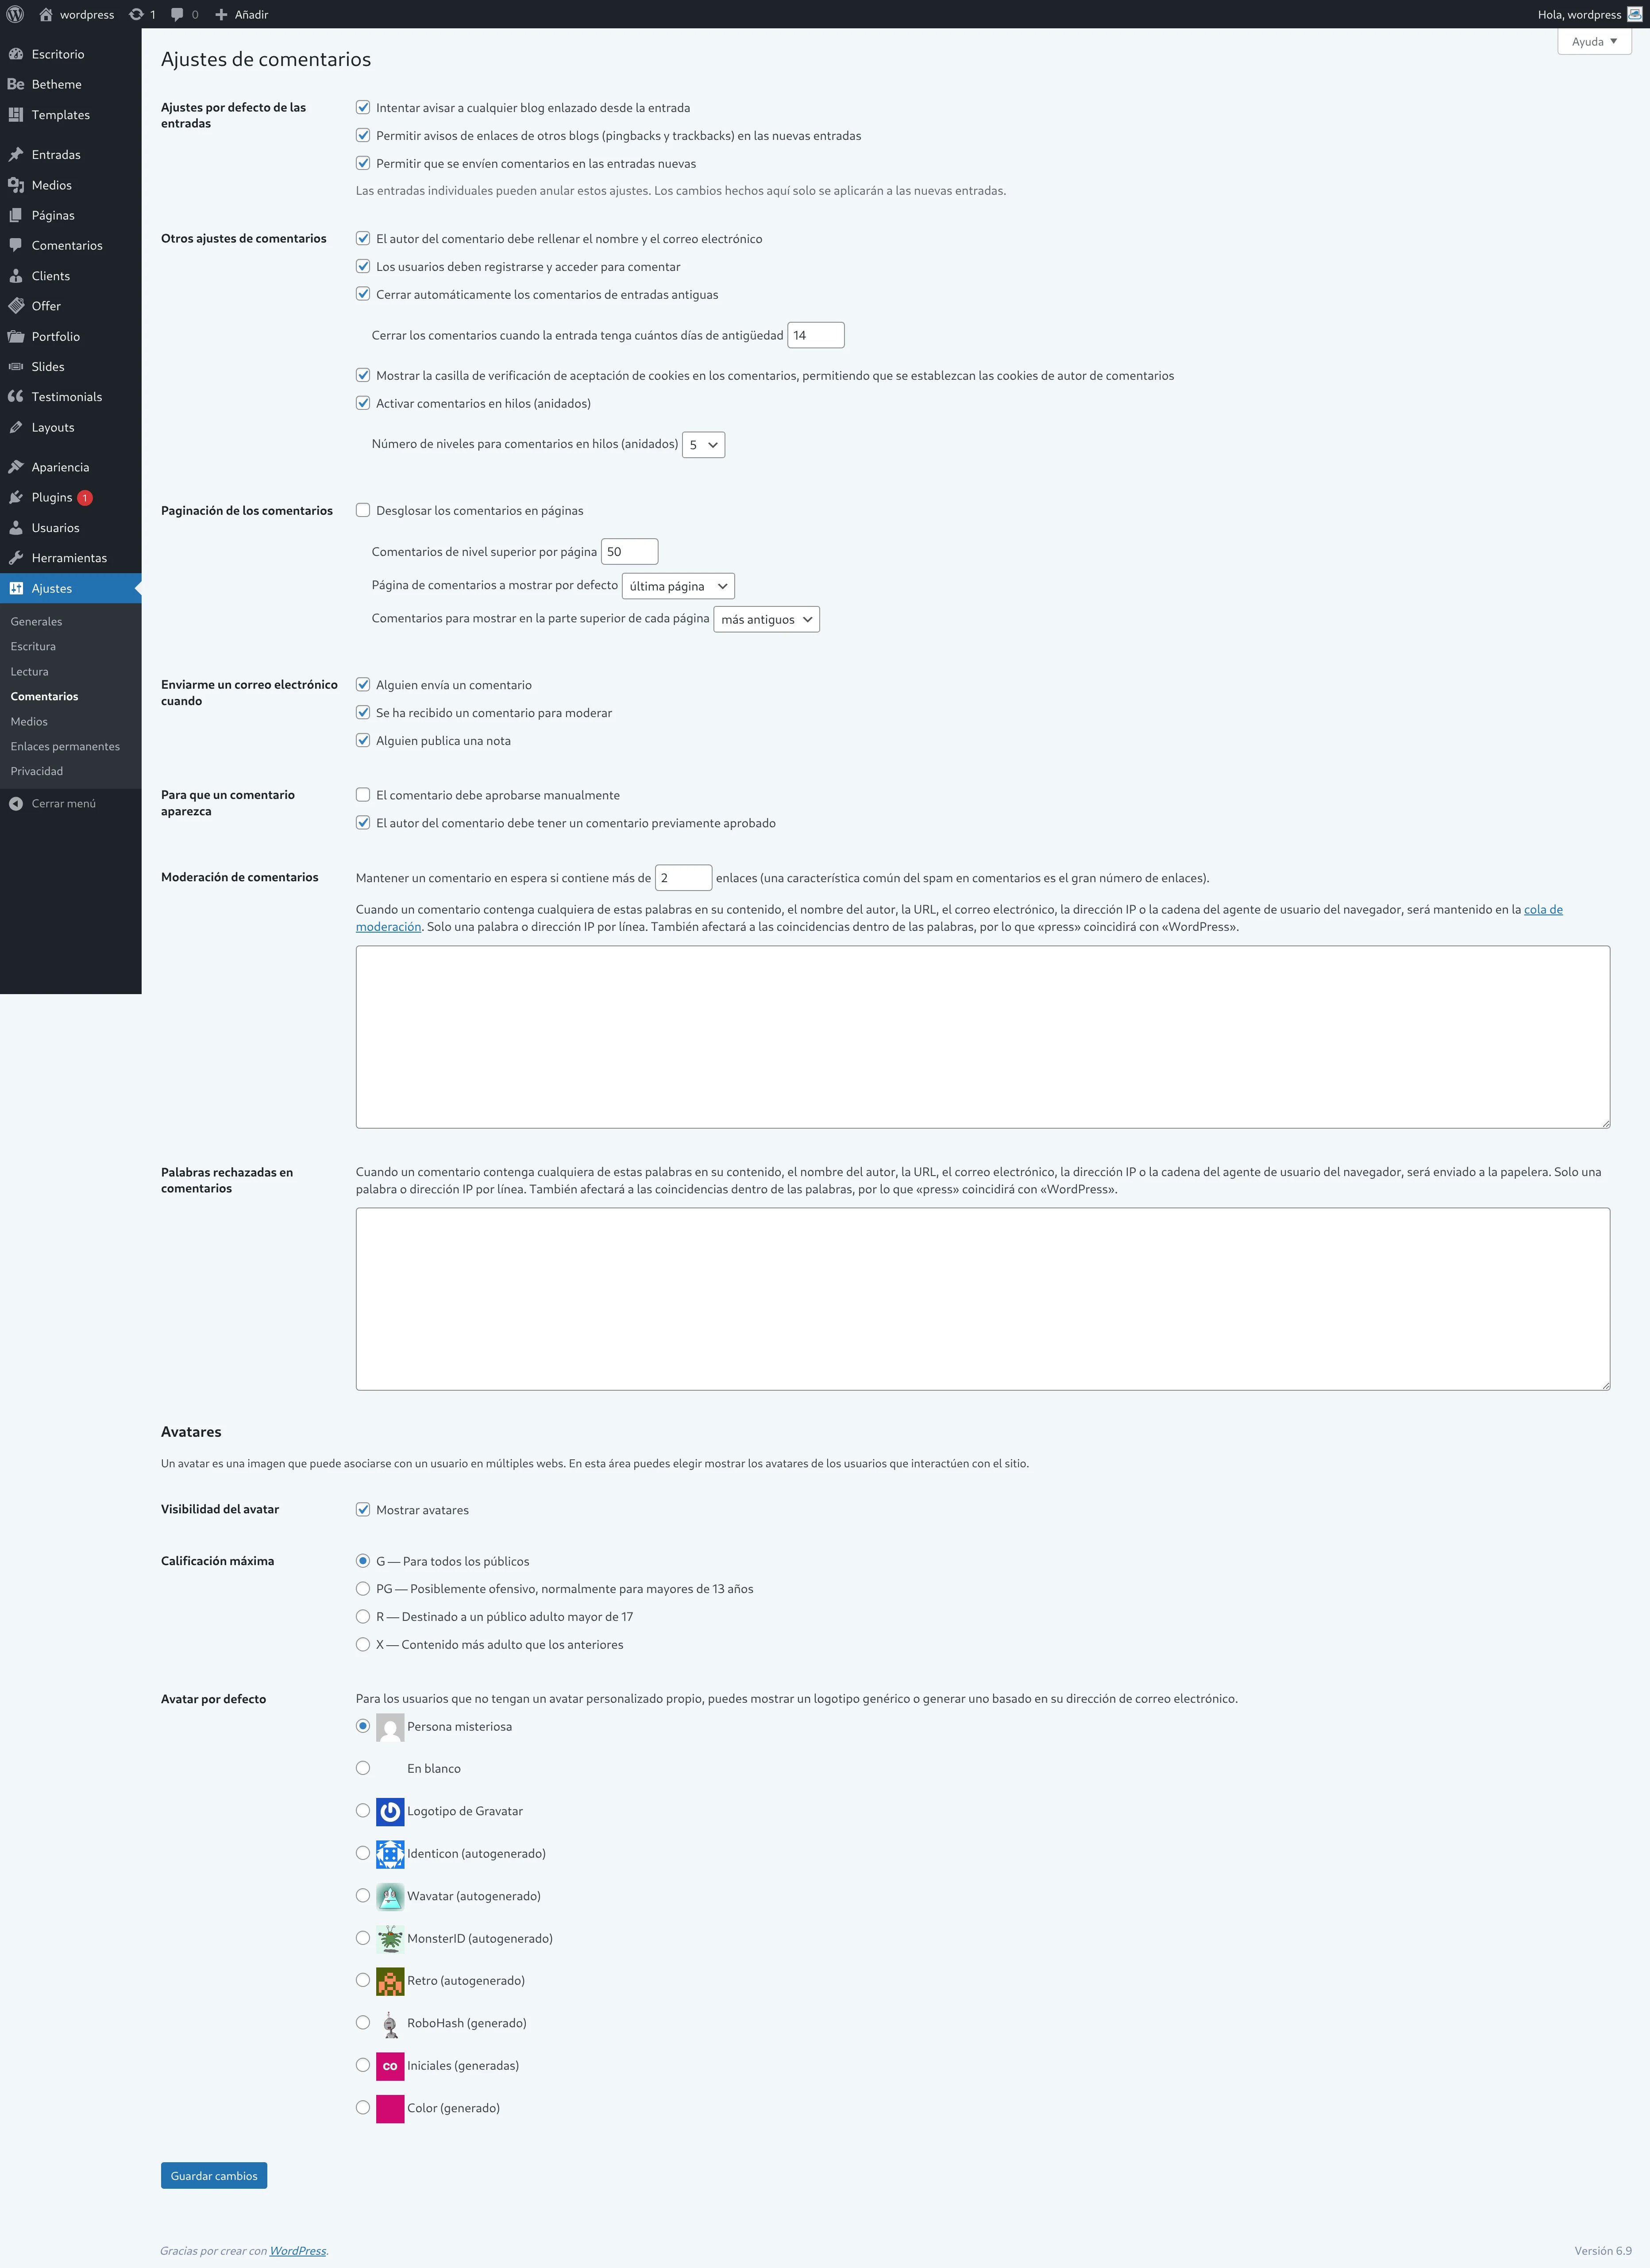
From here you decide how users interact with your site.
Recommended options:
👉 If we receive some spam, it is advisable to activate some of the options such as:
- “Users must be registered and logged in to comment”
- “Automatically close comments on old posts”.
- Or the most drastic measure, unchecking “Allow people to submit comments on new posts” although this option is only effective on new articles, commenting will still be possible on old ones.
- Alternatively, install a recaptcha if we want the user to be able to comment.
👥 Users and roles in WordPress
📍 Location: Users → All Users
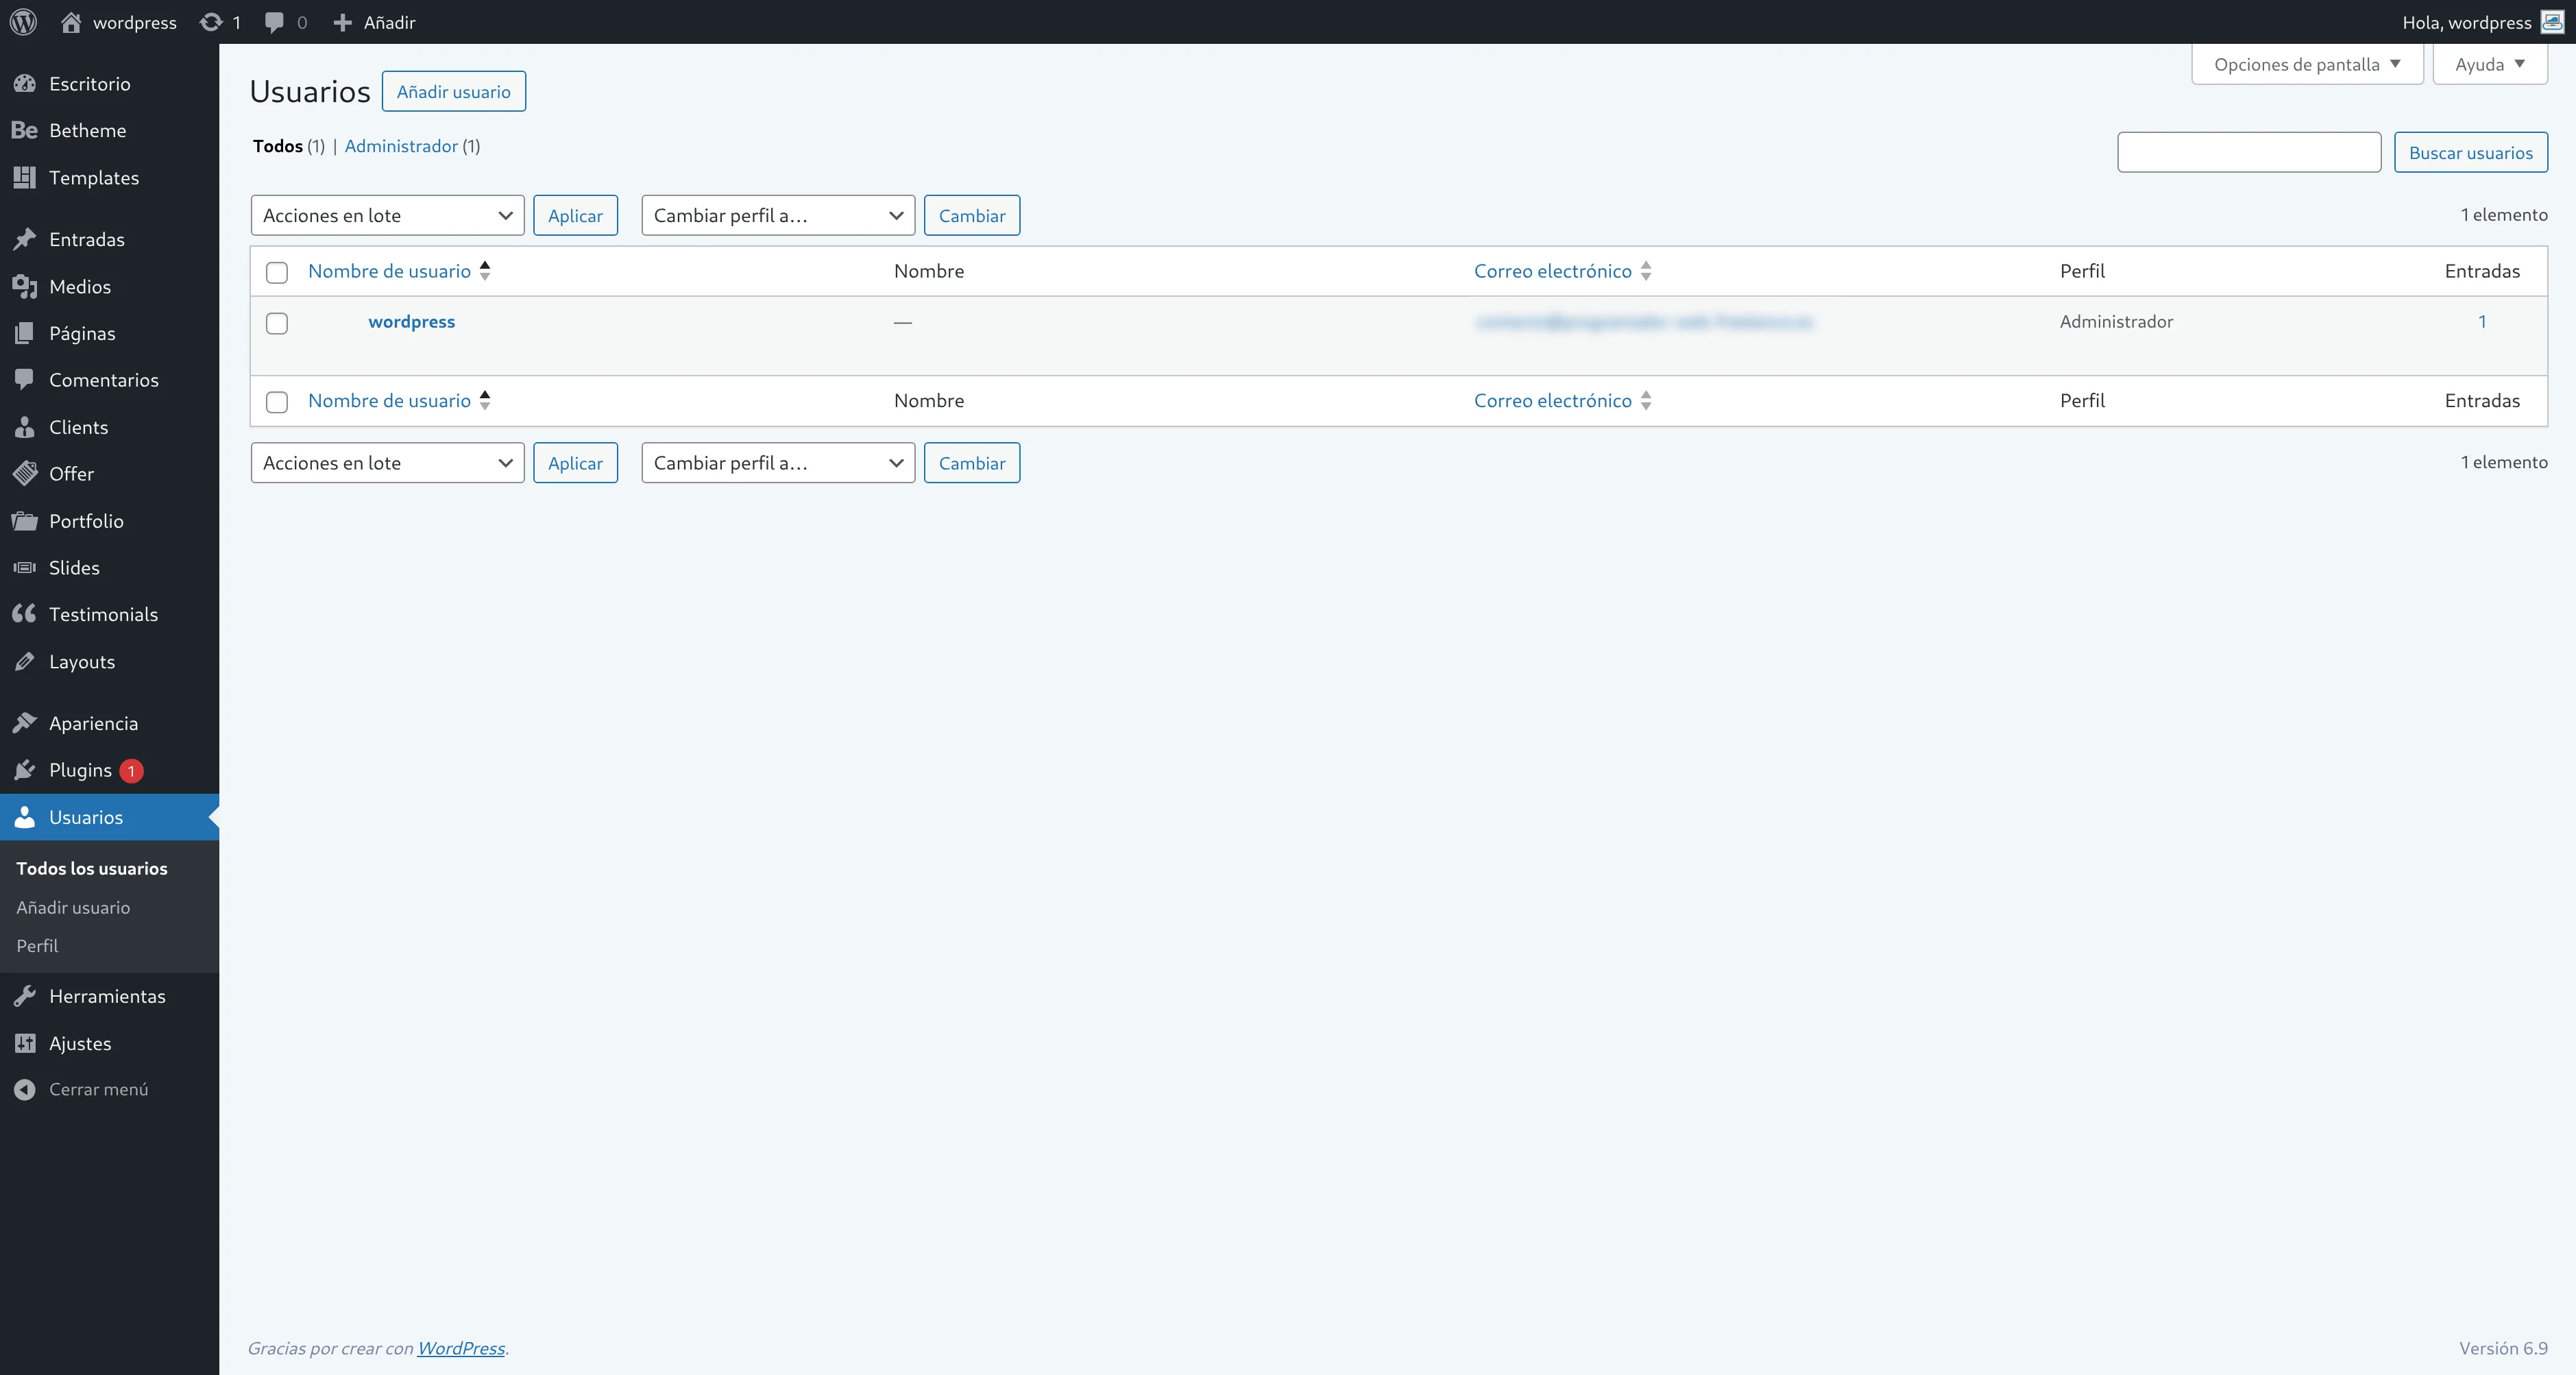
If needed, WordPress allows you to create different users with varying permission levels, called roles.
Main roles:
- Administrator: Total control of the site. (one of the most used roles)
- Editor: Publishes and manages content.
- Author: Publishes only their own posts.
- Contributor: Writes but cannot publish.
- Subscriber: Can only read and comment. (one of the most used roles)
👉 Recommendation:
Always use the lowest possible role for each user, for security reasons.
In the case of developing a website in cooperation with another developer, you can create a second administrator with a different name, password, and email and provide those credentials. This way you will know who was the last to modify a page or article.
✅ Conclusion
Correctly configuring WordPress settings is a key step for any web project.
With these options well defined, you will have a more secure website, better positioned, and ready to grow.