


How to install XAMPP on Windows to have a local server
How to Install XAMPP on Windows Step by Step
If you want to create a local web development environment on your computer, installing XAMPP on Windows is one of the fastest and easiest ways to do it.
With XAMPP you can run Apache, MySQL, PHP, and phpMyAdmin on your own machine, simulating a real web server.
🔽 Download XAMPP
- Go to the official website:
https://www.apachefriends.org - In the top menu, click on “Downloads”.
- Download the latest version of XAMPP for Windows.
⚙️ Install XAMPP on Windows
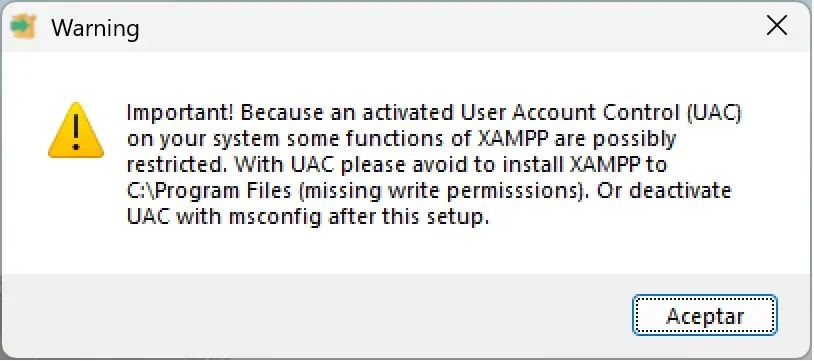
- Run the installer.
Windows may recommend disabling User Account Control (UAC). It’s not necessary — simply click “OK”.

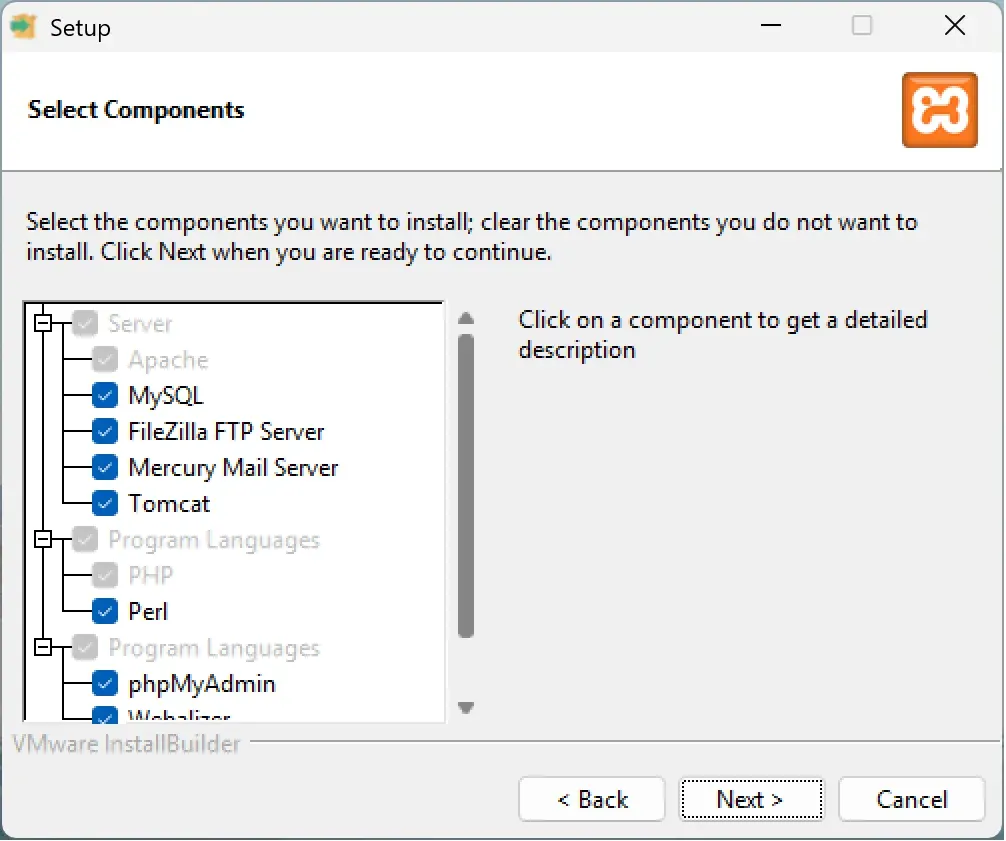
- Select the components to install.
You can leave the default options (Apache, MySQL, PHP, phpMyAdmin, etc.).

- Choose the installation path.
The default locationC:\xamppis usually the best choice.

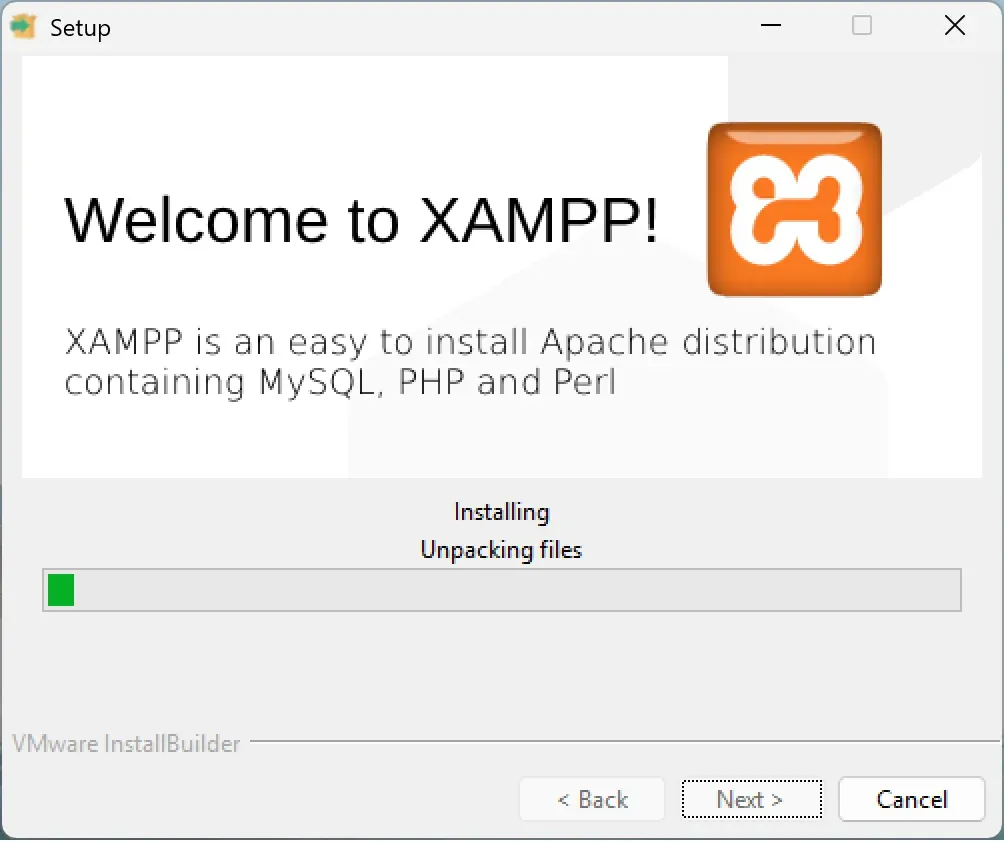
- Start the installation.
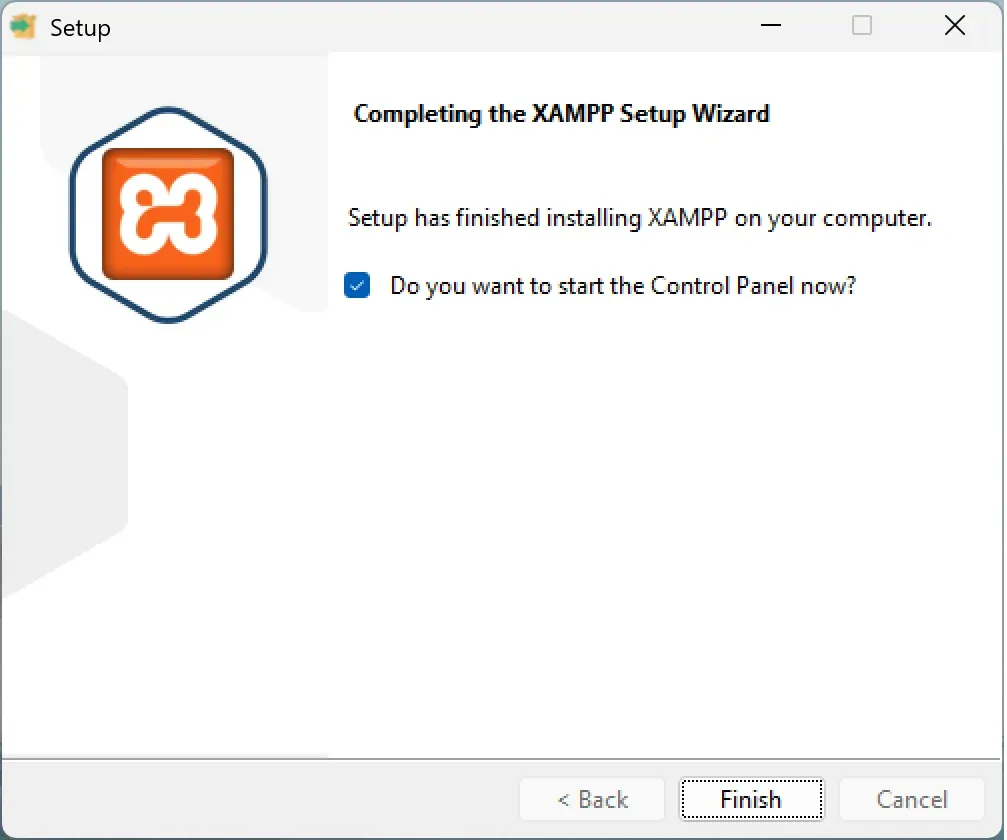
Wait for the process to complete. - Finish and open XAMPP.
Uncheck the option “Start the Control Panel now” (we’ll open it manually) and click “Finish”.


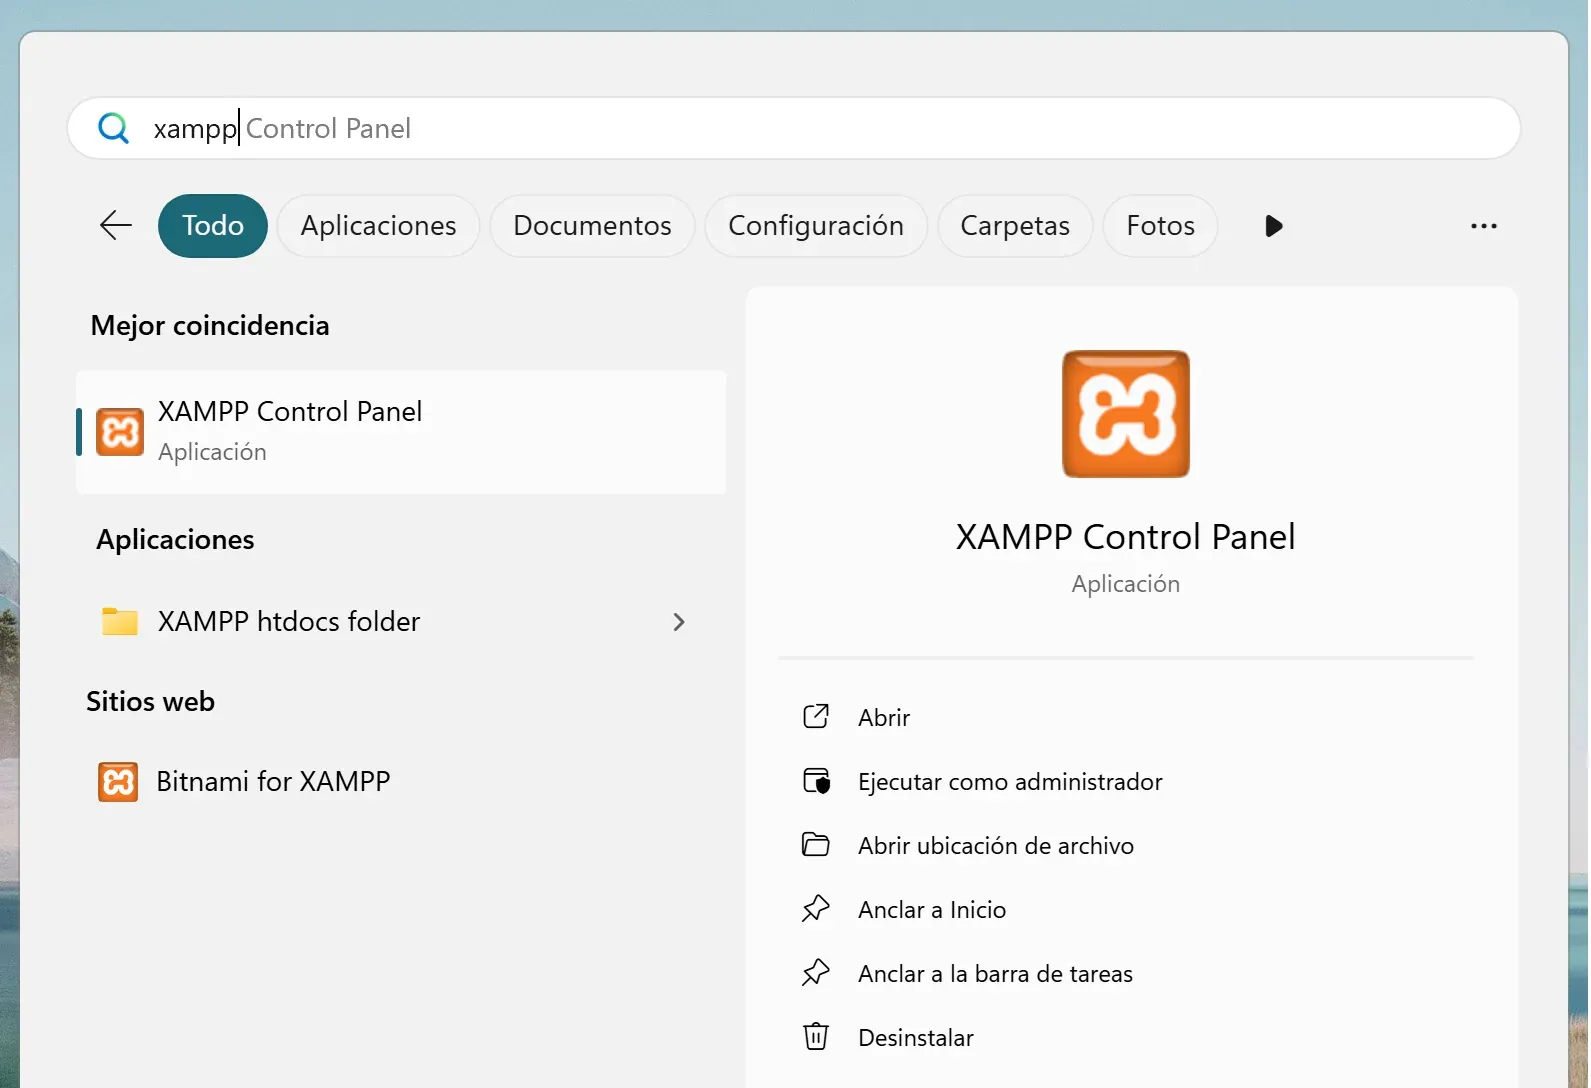
🧩 Launch the XAMPP Control Panel
- Open the Windows Start menu and type XAMPP in the search bar.
Select “Open”.

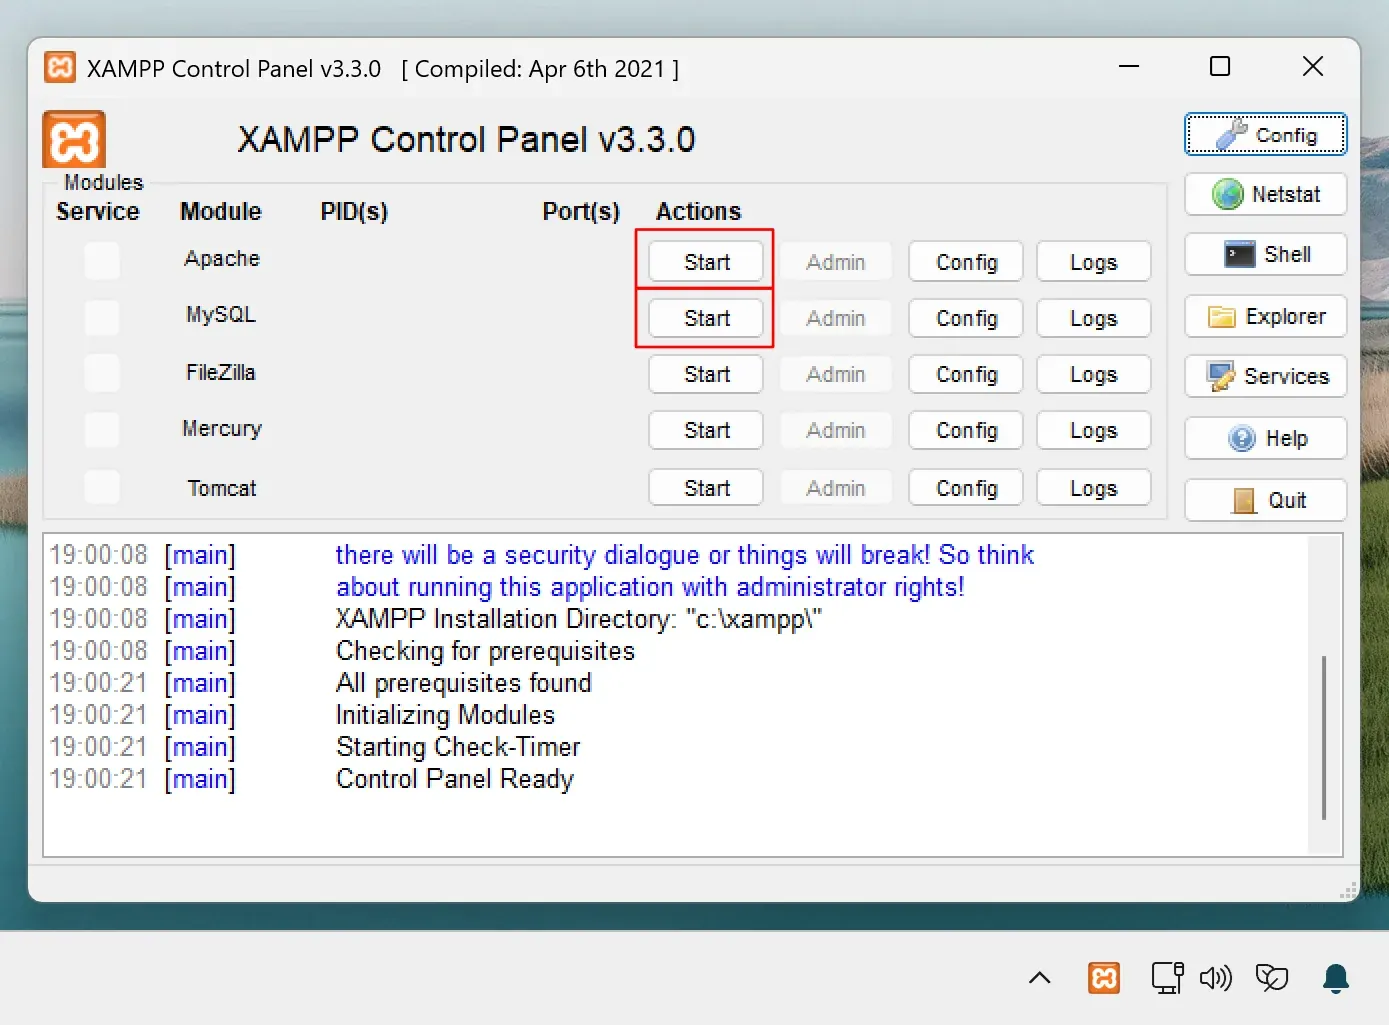
- In the taskbar (bottom right), you’ll see the orange XAMPP icon. Double-click it to open.
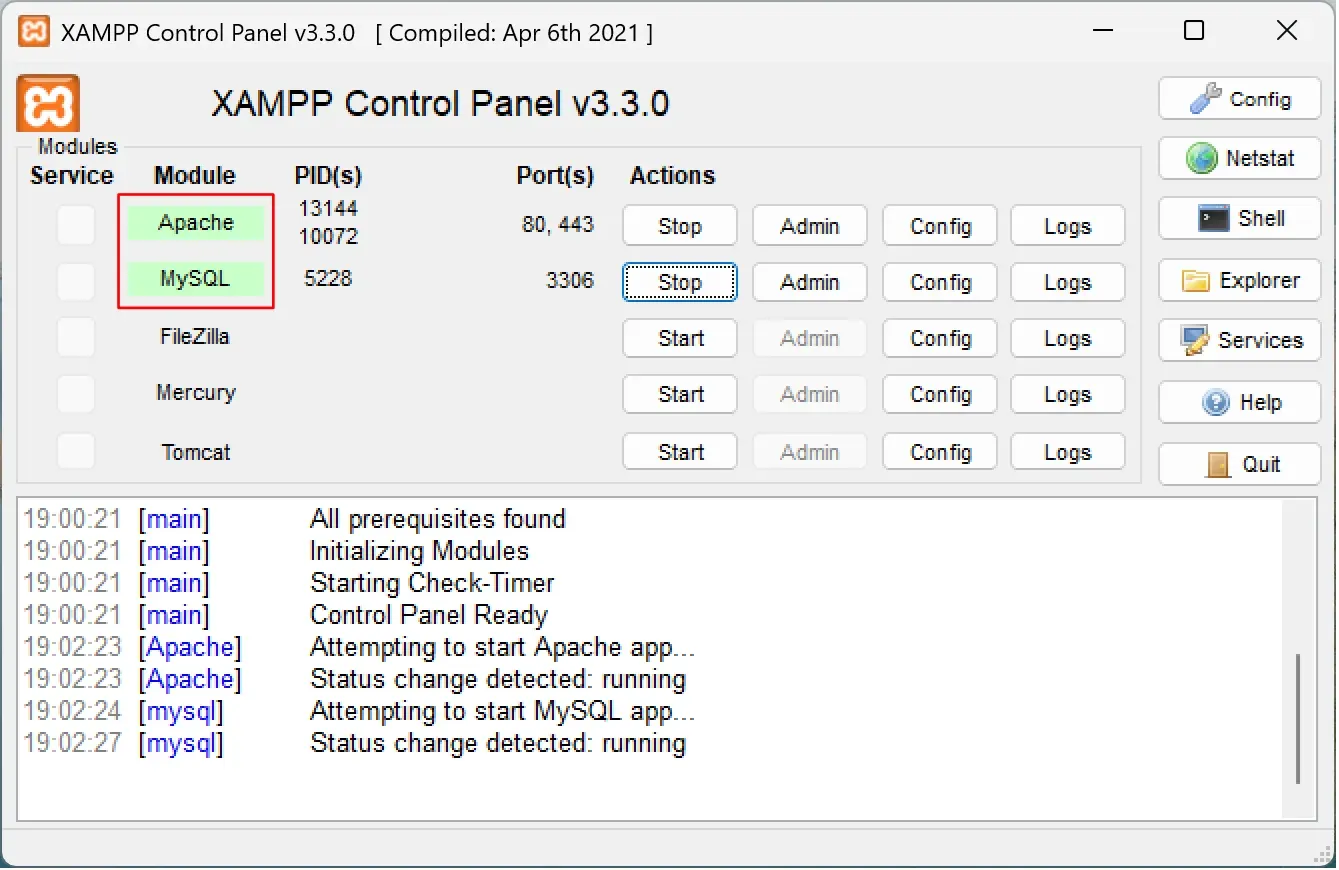
- In the control panel, click “Start” next to the Apache and MySQL modules.
The first time, Windows may ask for permission to allow the connection — accept it.

- When both modules start correctly, you’ll see their boxes highlighted in green.

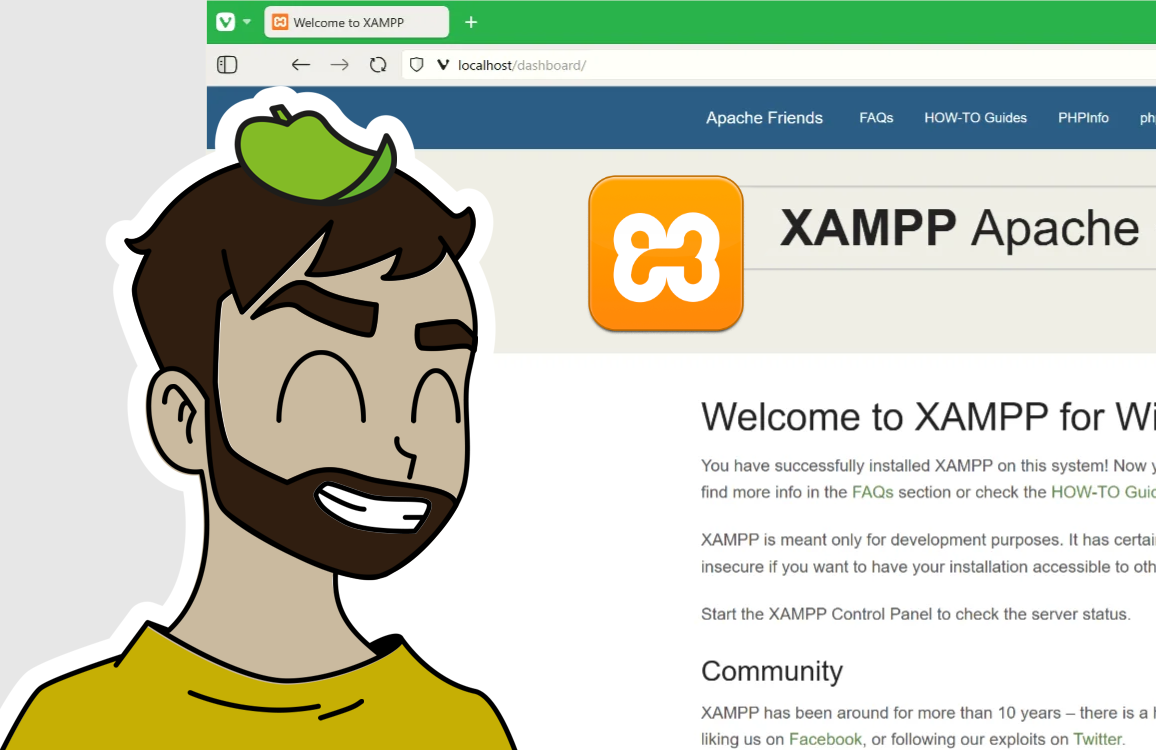
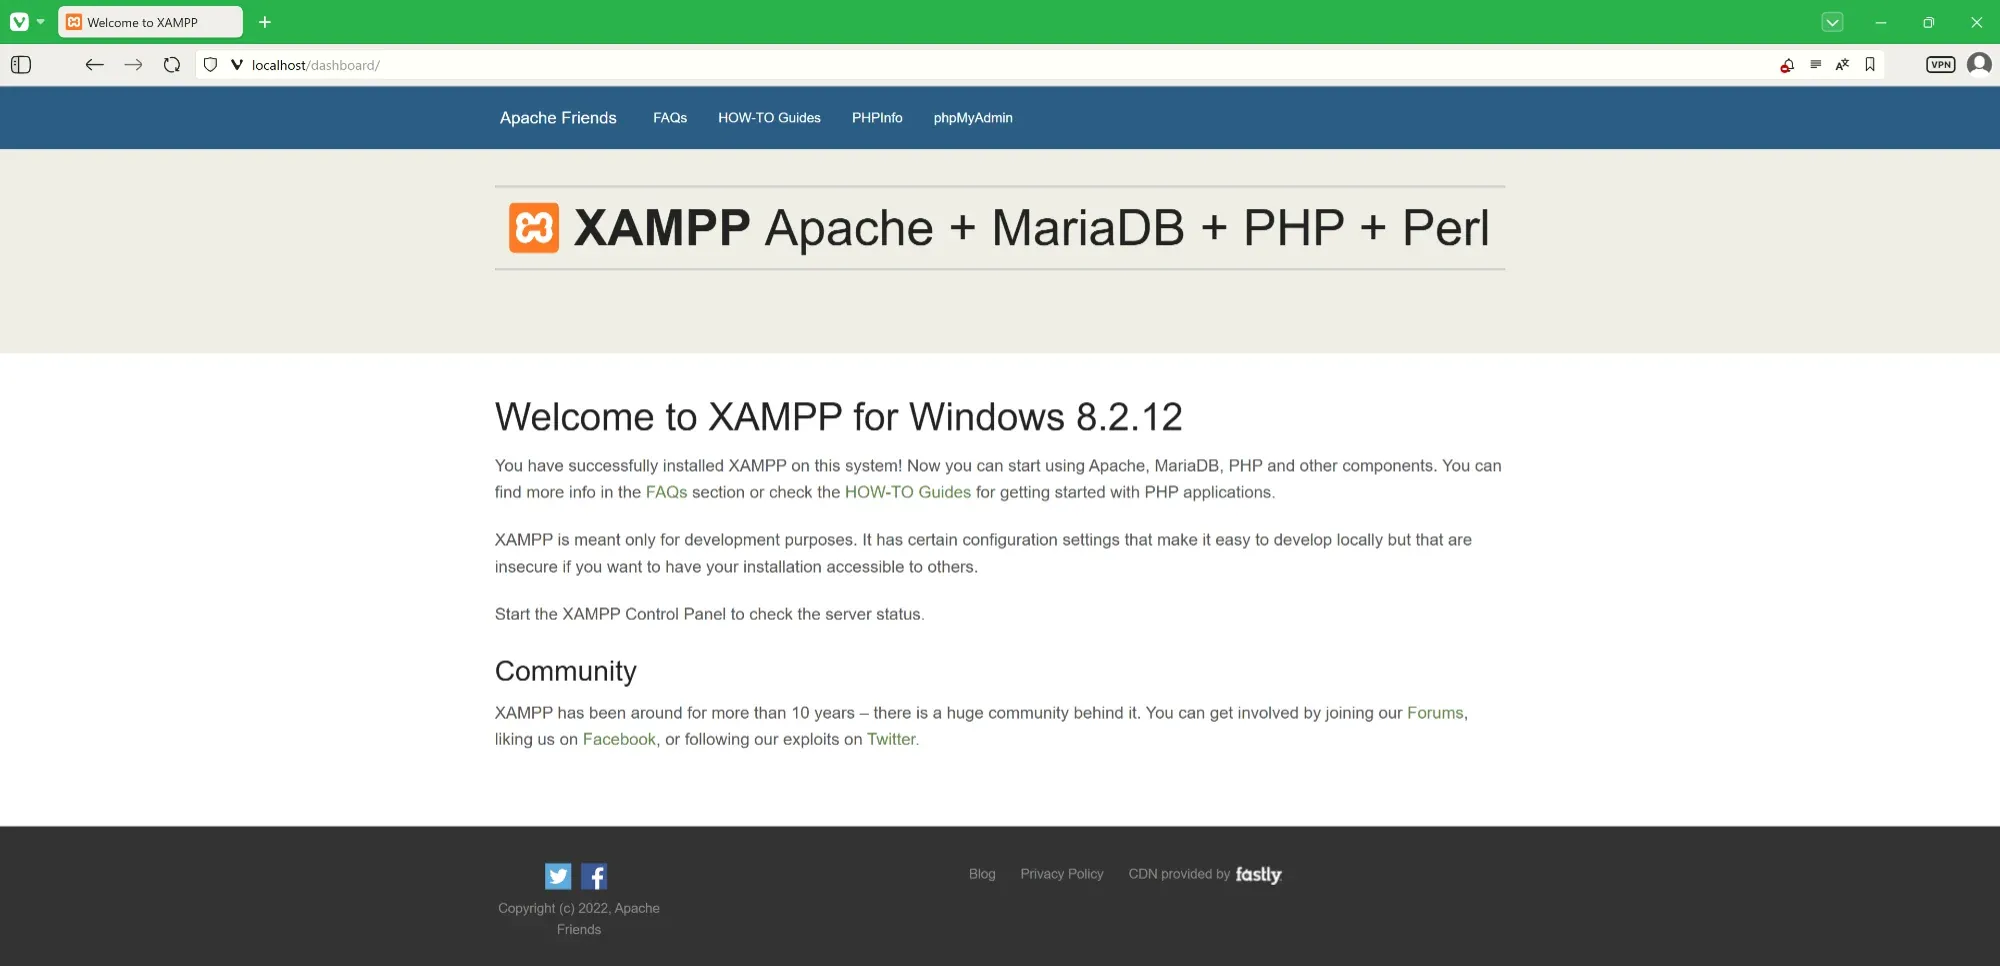
🌐 Check That XAMPP Is Working Properly
- Open your browser and type:
localhost
If you see the XAMPP welcome screen, everything is working!

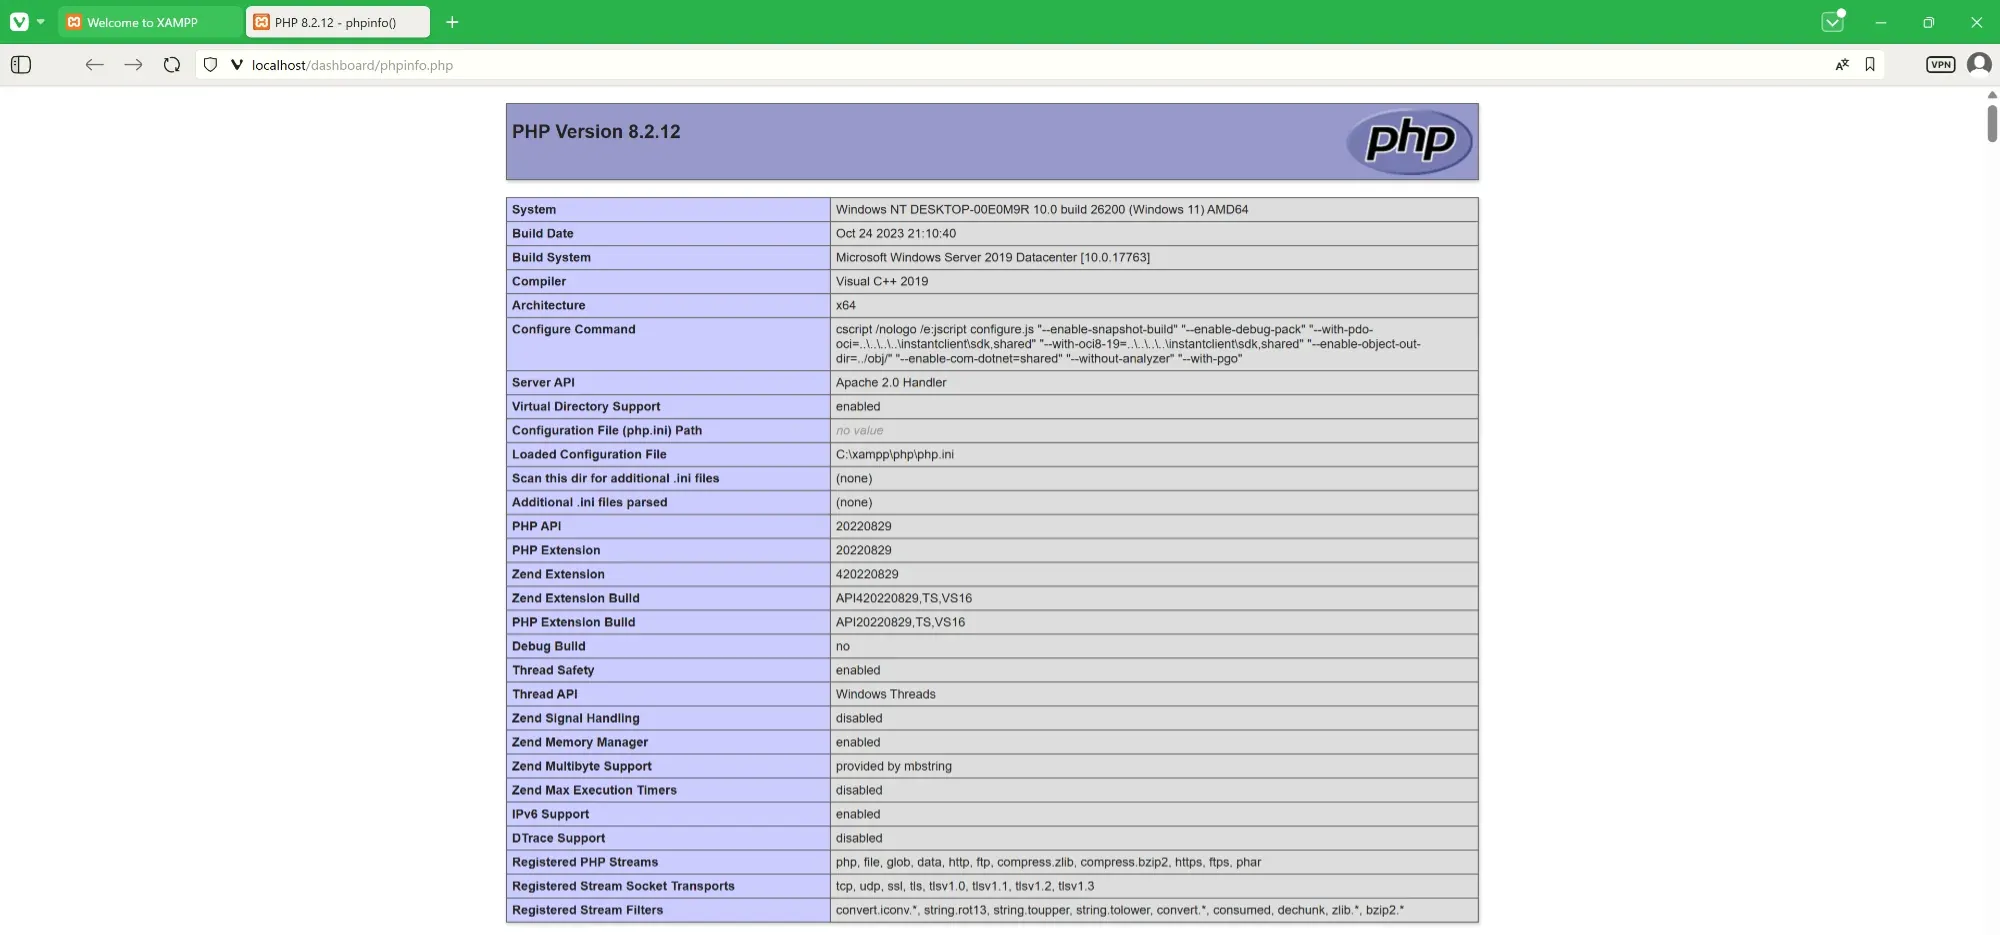
- To view PHP configuration, go to:
localhost/dashboard/phpinfo.php

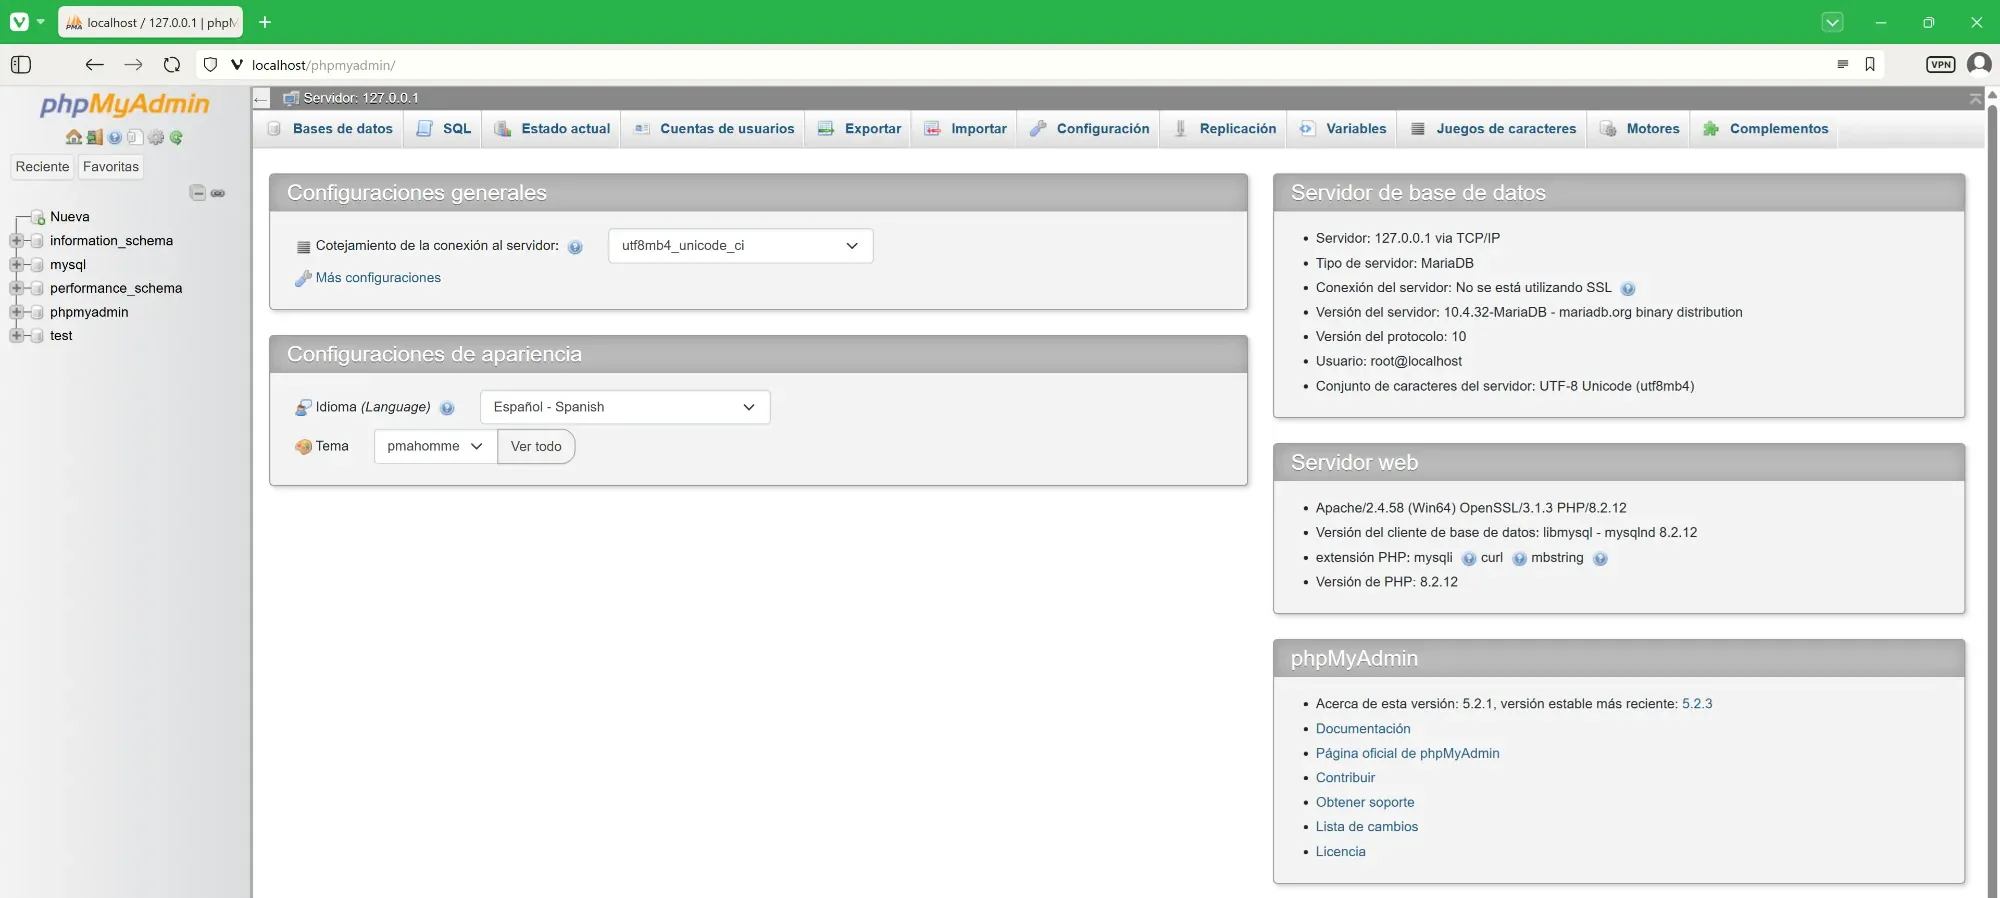
- To access phpMyAdmin (MySQL database manager), go to:
localhost/phpmyadmin

📁 Create Your First Local Website with XAMPP
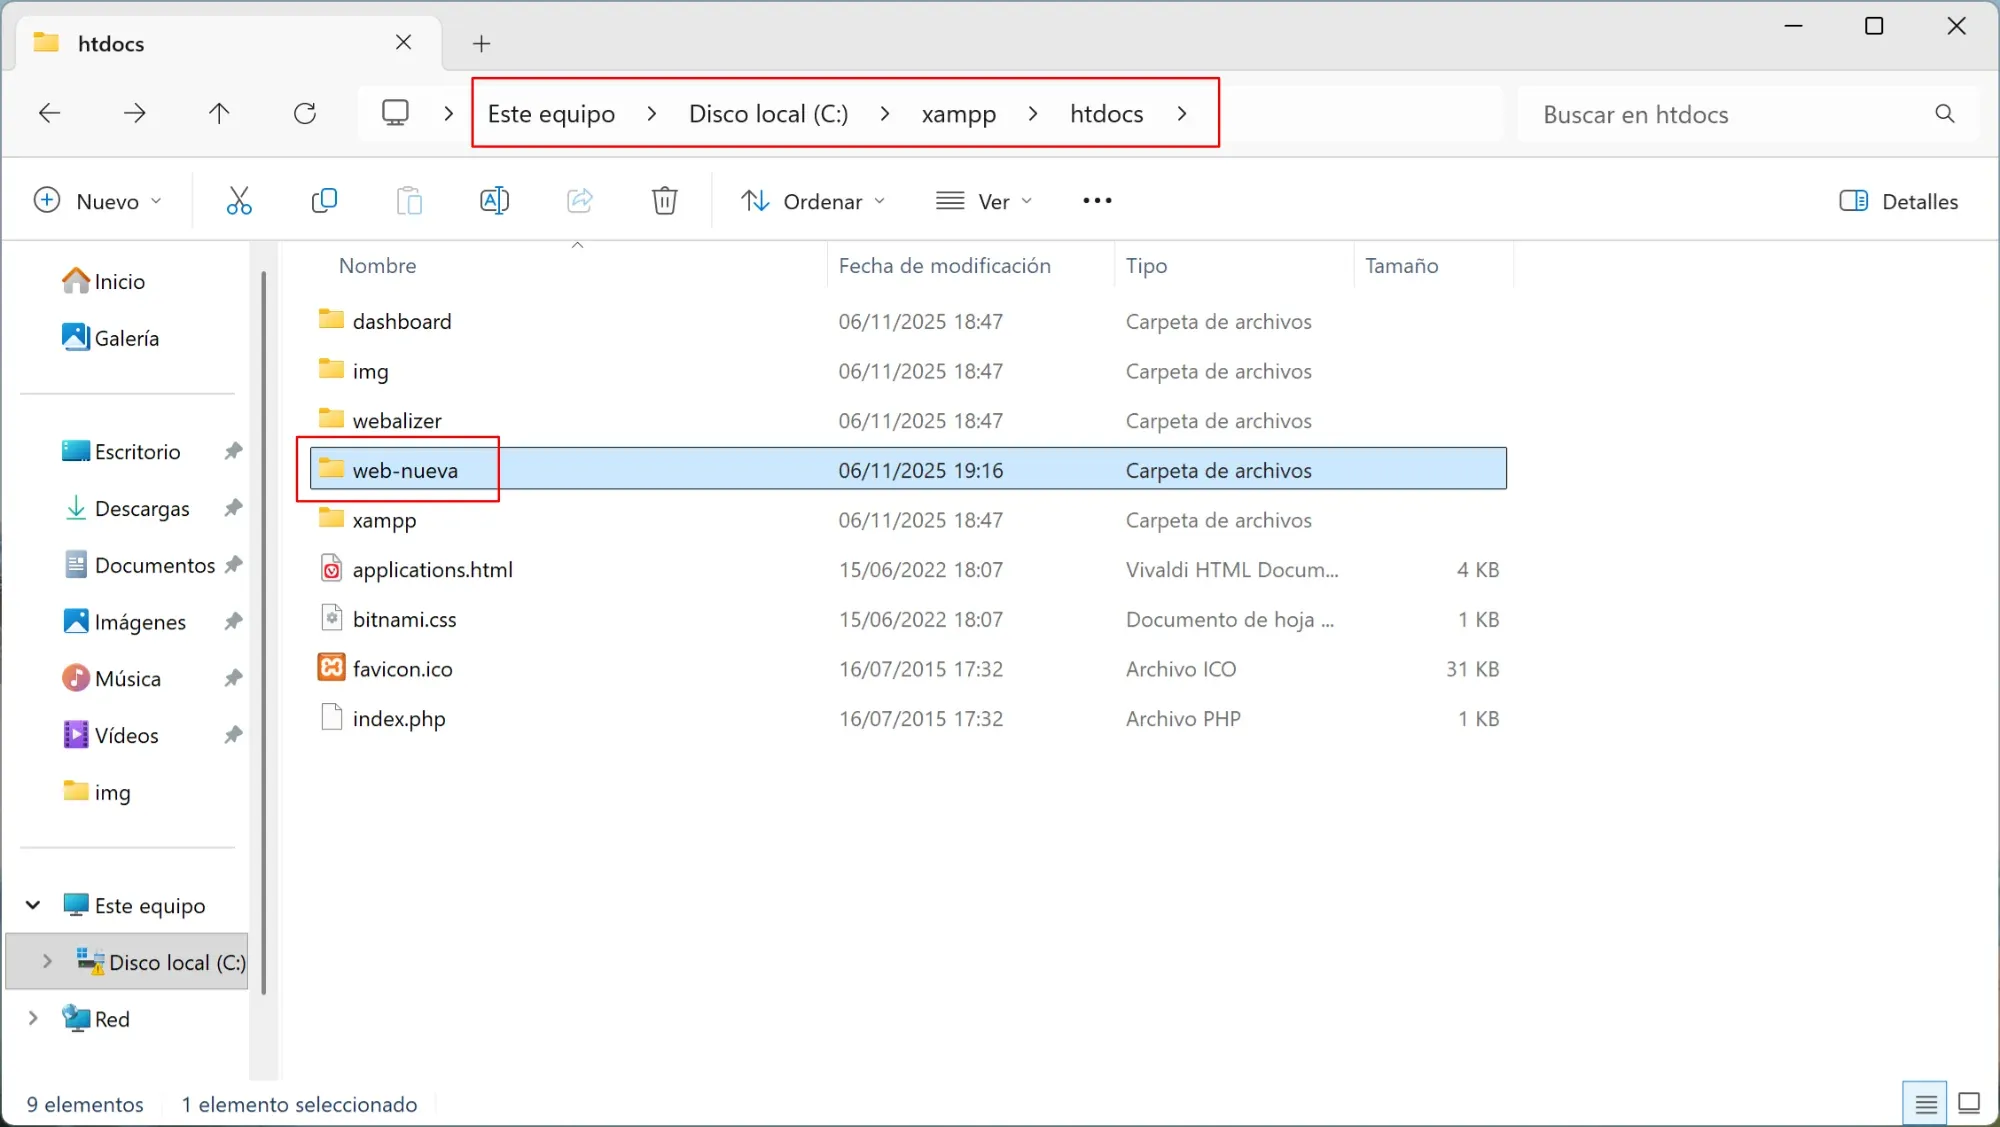
- Open the folder where you installed XAMPP, by default:
C:\xampp\htdocs\ - Inside
htdocs, create a folder for your website, for example:C:\xampp\htdocs\new-site
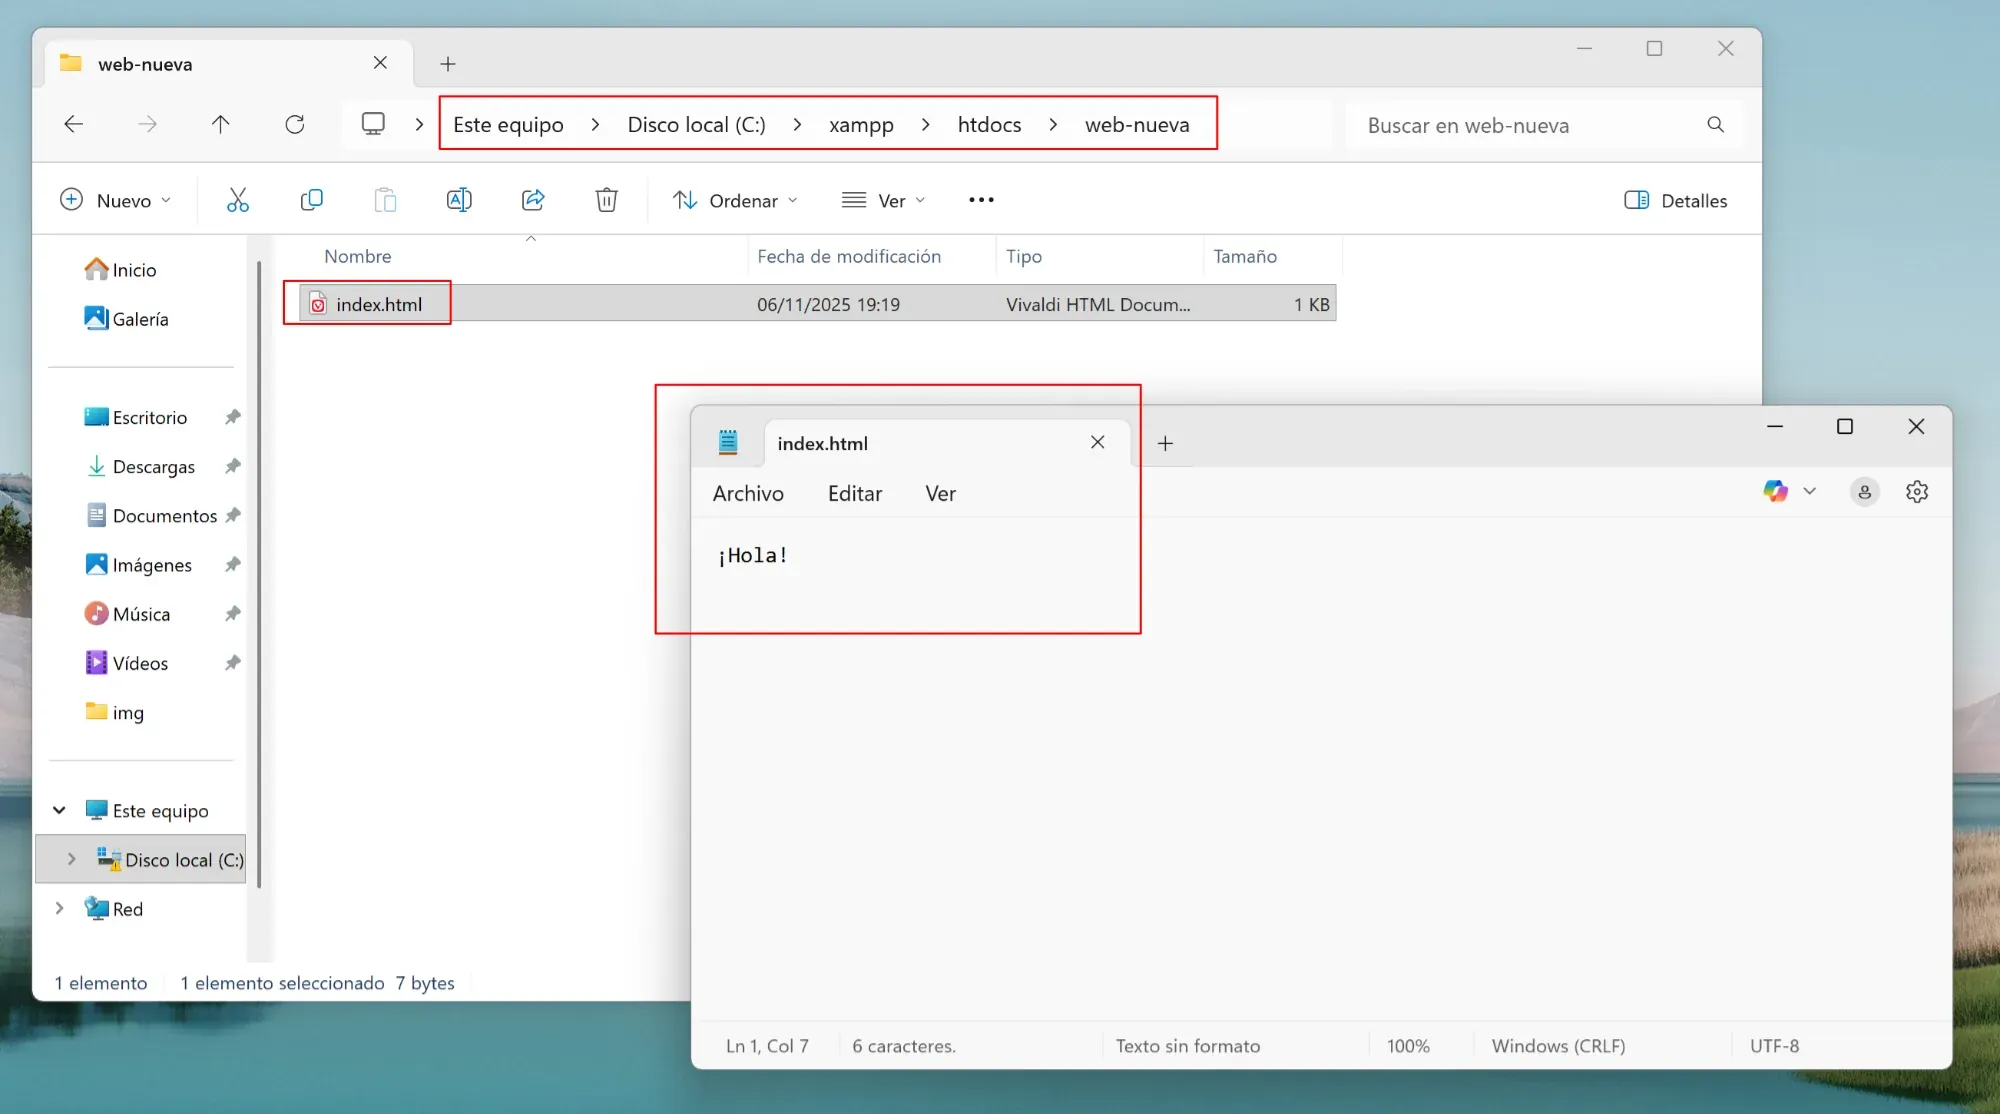
- In that folder, create a file called
index.html. Open it with a text editor like Notepad and type something like:Hello!
- Save your changes and open the index.html in your browser — not by double-clicking, but by typing this URL in your browser:
localhost/new-site
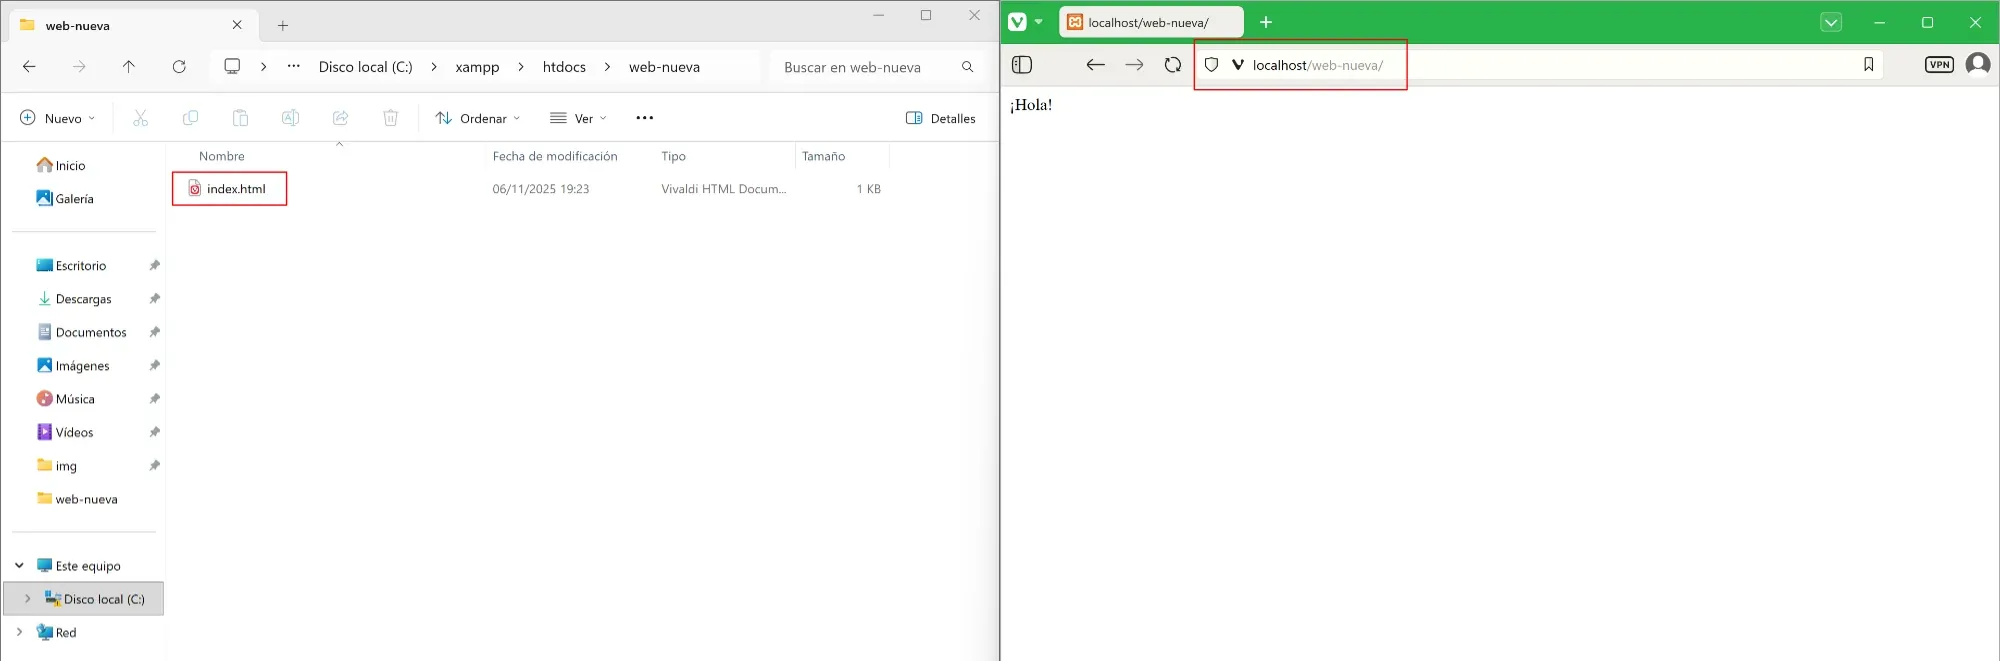
That’s it! You’ll see the message you wrote appear on your local page.
✅ Conclusion
Now you know how to install and configure XAMPP on Windows to create a local server with Apache, MySQL, PHP, and phpMyAdmin.
From here, you can start developing and testing your web projects without needing external hosting.