


How to install WampServer on Windows step by step (Complete guide)

How to Install WampServer on Windows to Create a Local Server on Your Computer
If you want to set up a local development environment on your computer with Apache, PHP, and MySQL, installing WampServer on Windows is an excellent choice. In this guide, I’ll show you how to download, install, and configure WAMP step by step to have your own local server.
🔽 Download WampServer
Download WampServer from its official website: www.wampserver.com/en/download-wampserver-64bits/
Currently, when you try to download the installer, a form appears, but you can skip it by clicking on the phrase “you can download it directly”.
⚙️ Install WampServer on Windows
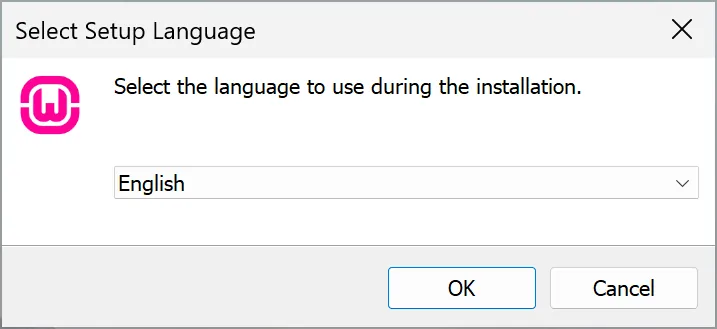
- Run the installer and choose your preferred language.

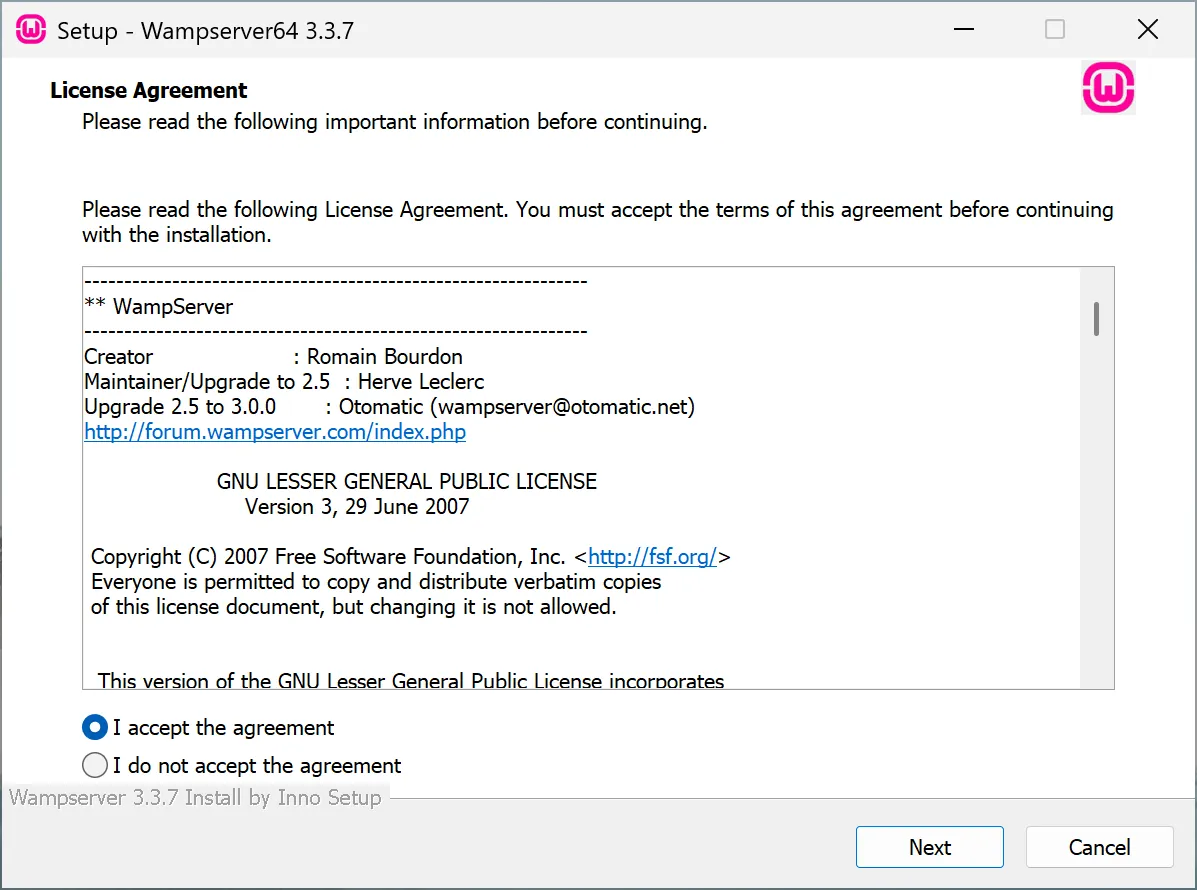
- Accept the license terms to continue.

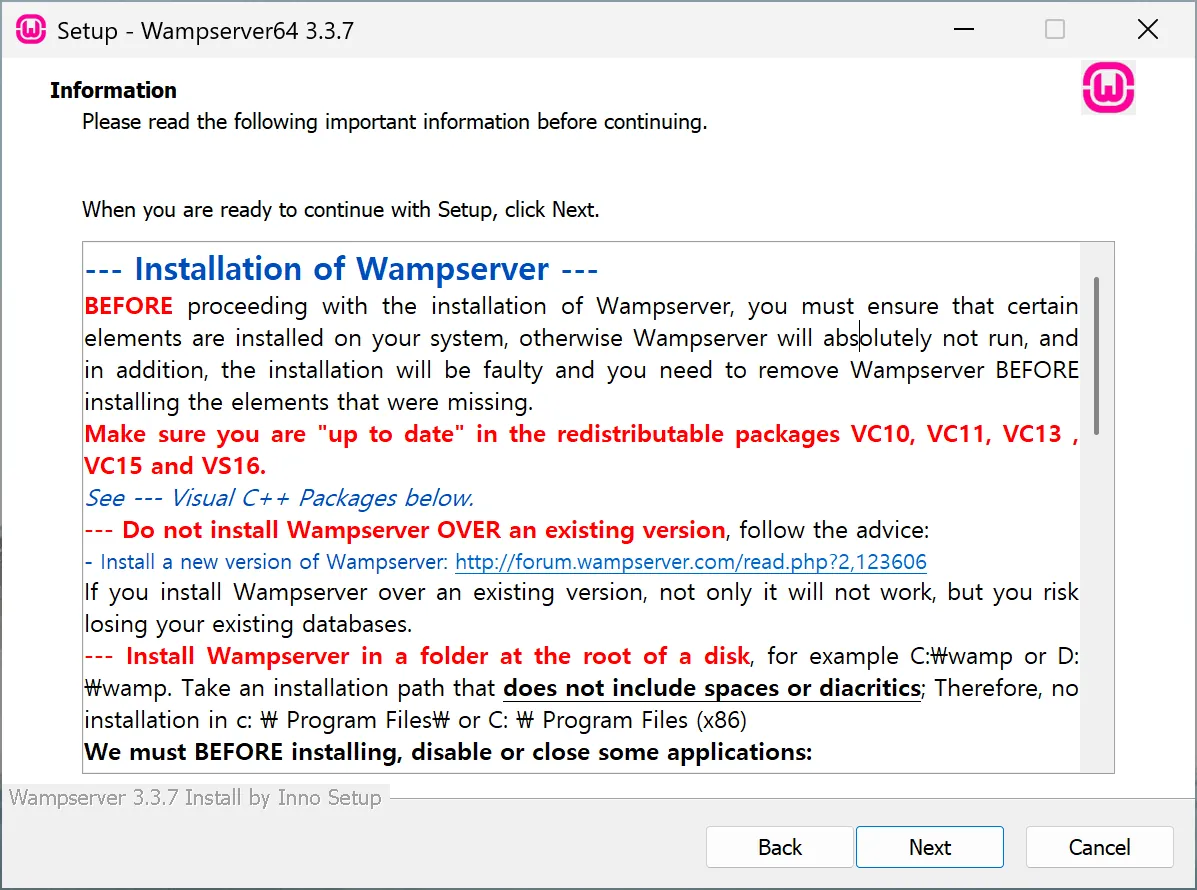
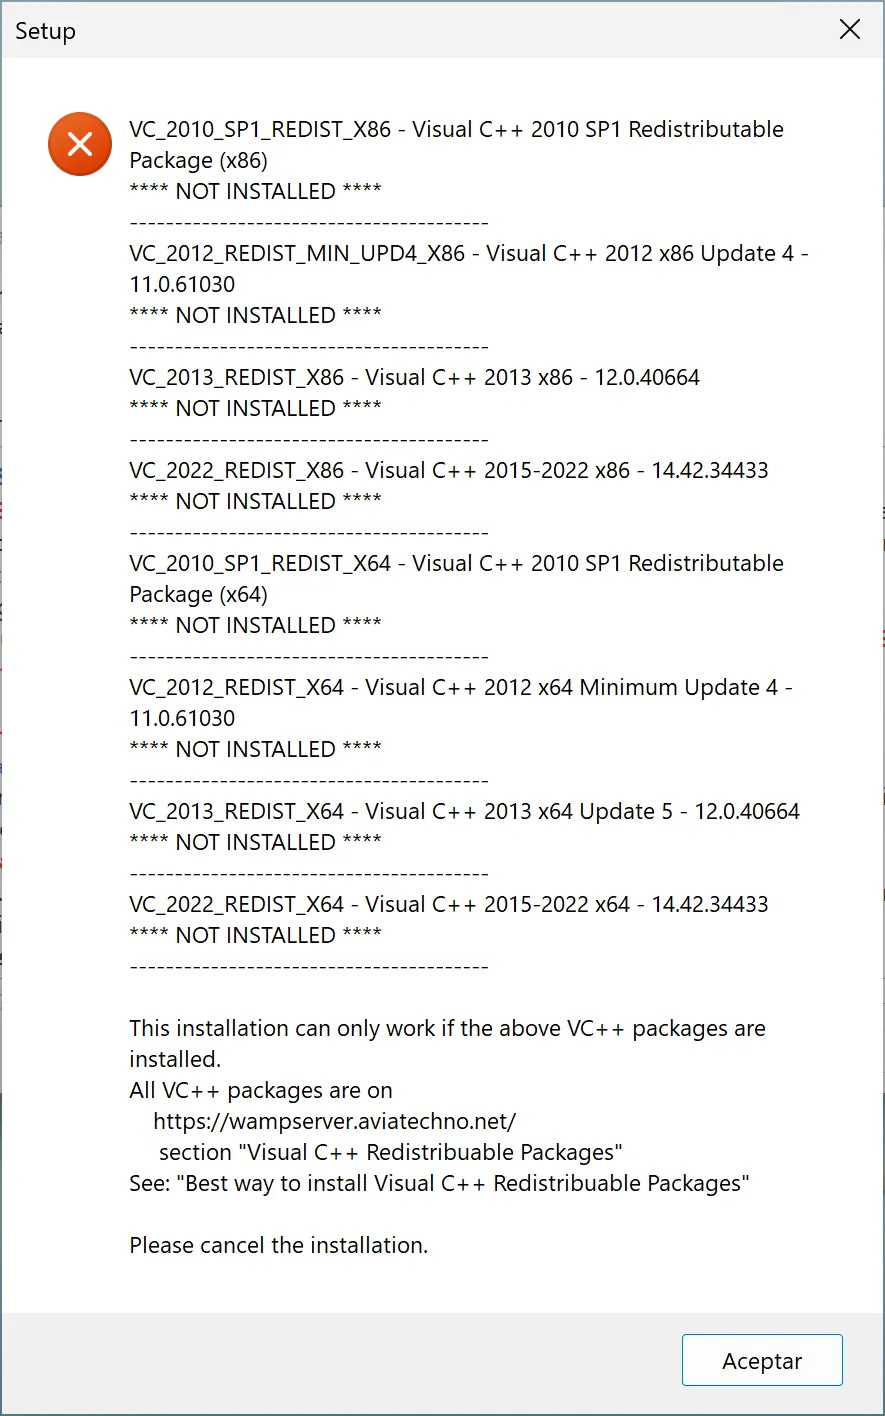
- The wizard will show the components required for WampServer to work properly. Take note of this address:
https://wampserver.aviatechno.netdisplayed in the text. You can use it later to download any missing dependencies. - If, after clicking “Next”, the installer indicates that the following libraries are missing:
- VC_2010_SP1_REDIST
- VC_2012_SP1_REDIST_MIN_UPD4
- VC_2013_SP1_REDIST
- VC_2012_SP1_REDIST
- VC_2013_SP1_REDIST
You’ll need to download them manually from the website mentioned above. We’ll see that in the next step.

- On that website, you’ll find the following sections:
- Visual C++ Redistributable Packages: links to Microsoft’s website, where you can download the
X86andX64versions. - Microsoft VC packages VC2008–2022: download the remaining ZIP files (both 32 and 64 bits).
If you’re unsure which ones to install, simply download and install them all.
- Visual C++ Redistributable Packages: links to Microsoft’s website, where you can download the
- Once the dependencies are installed, click “Next” to continue. If everything is installed correctly, the installer will proceed; otherwise, it will list any missing components.
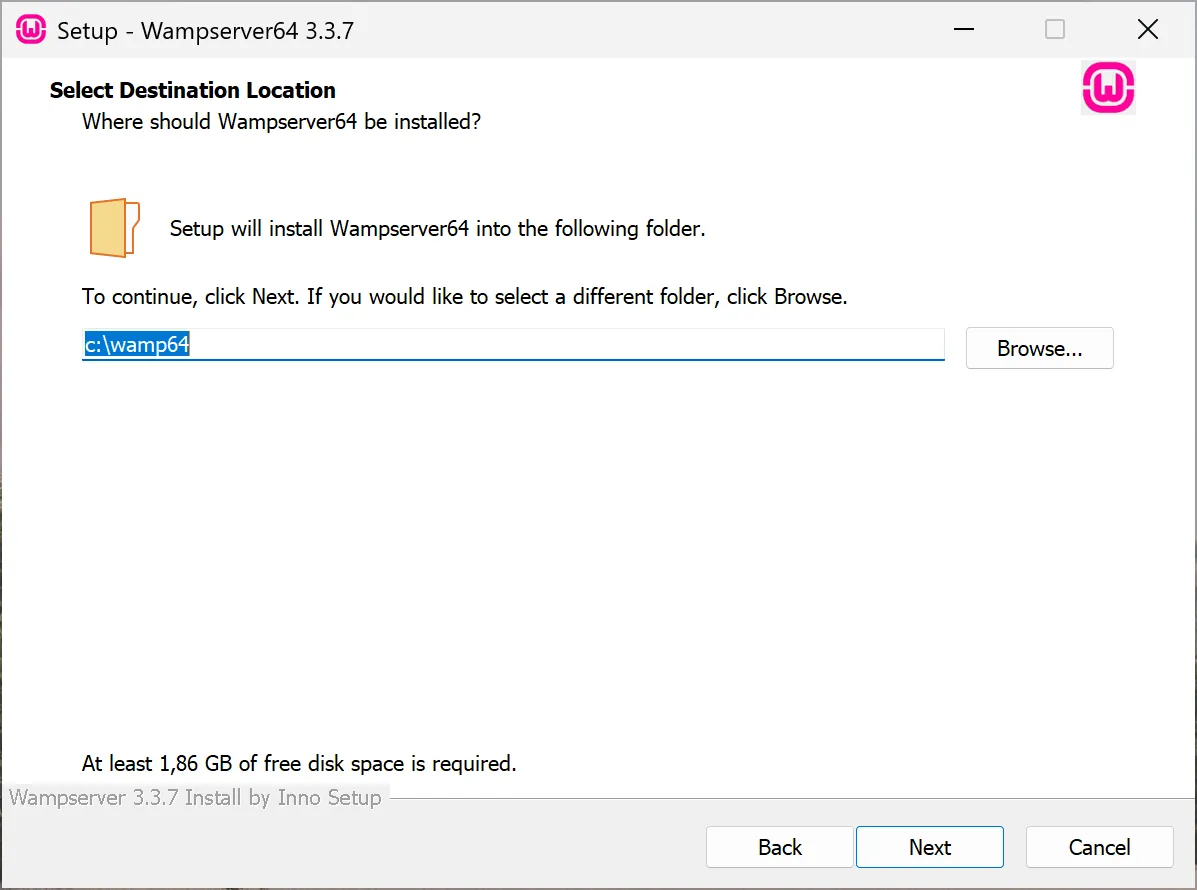
- Choose the installation path. The default location
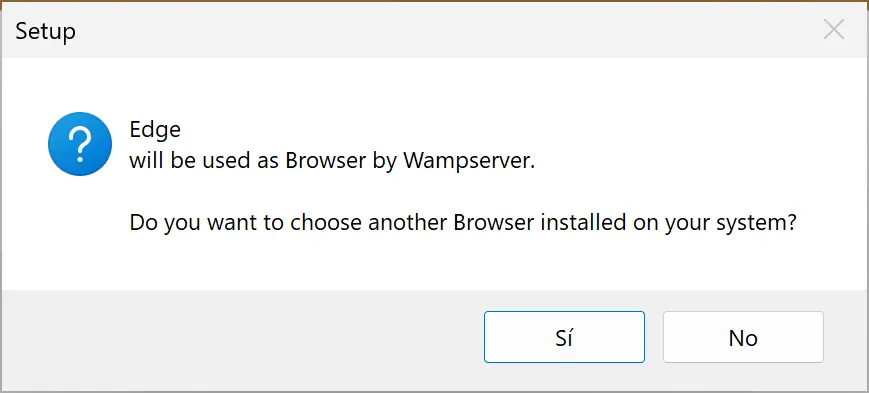
C:\wamp64\is the recommended one. - The installer will ask if you want to change the default browser. You can click “No” to keep Edge or your system’s default browser.

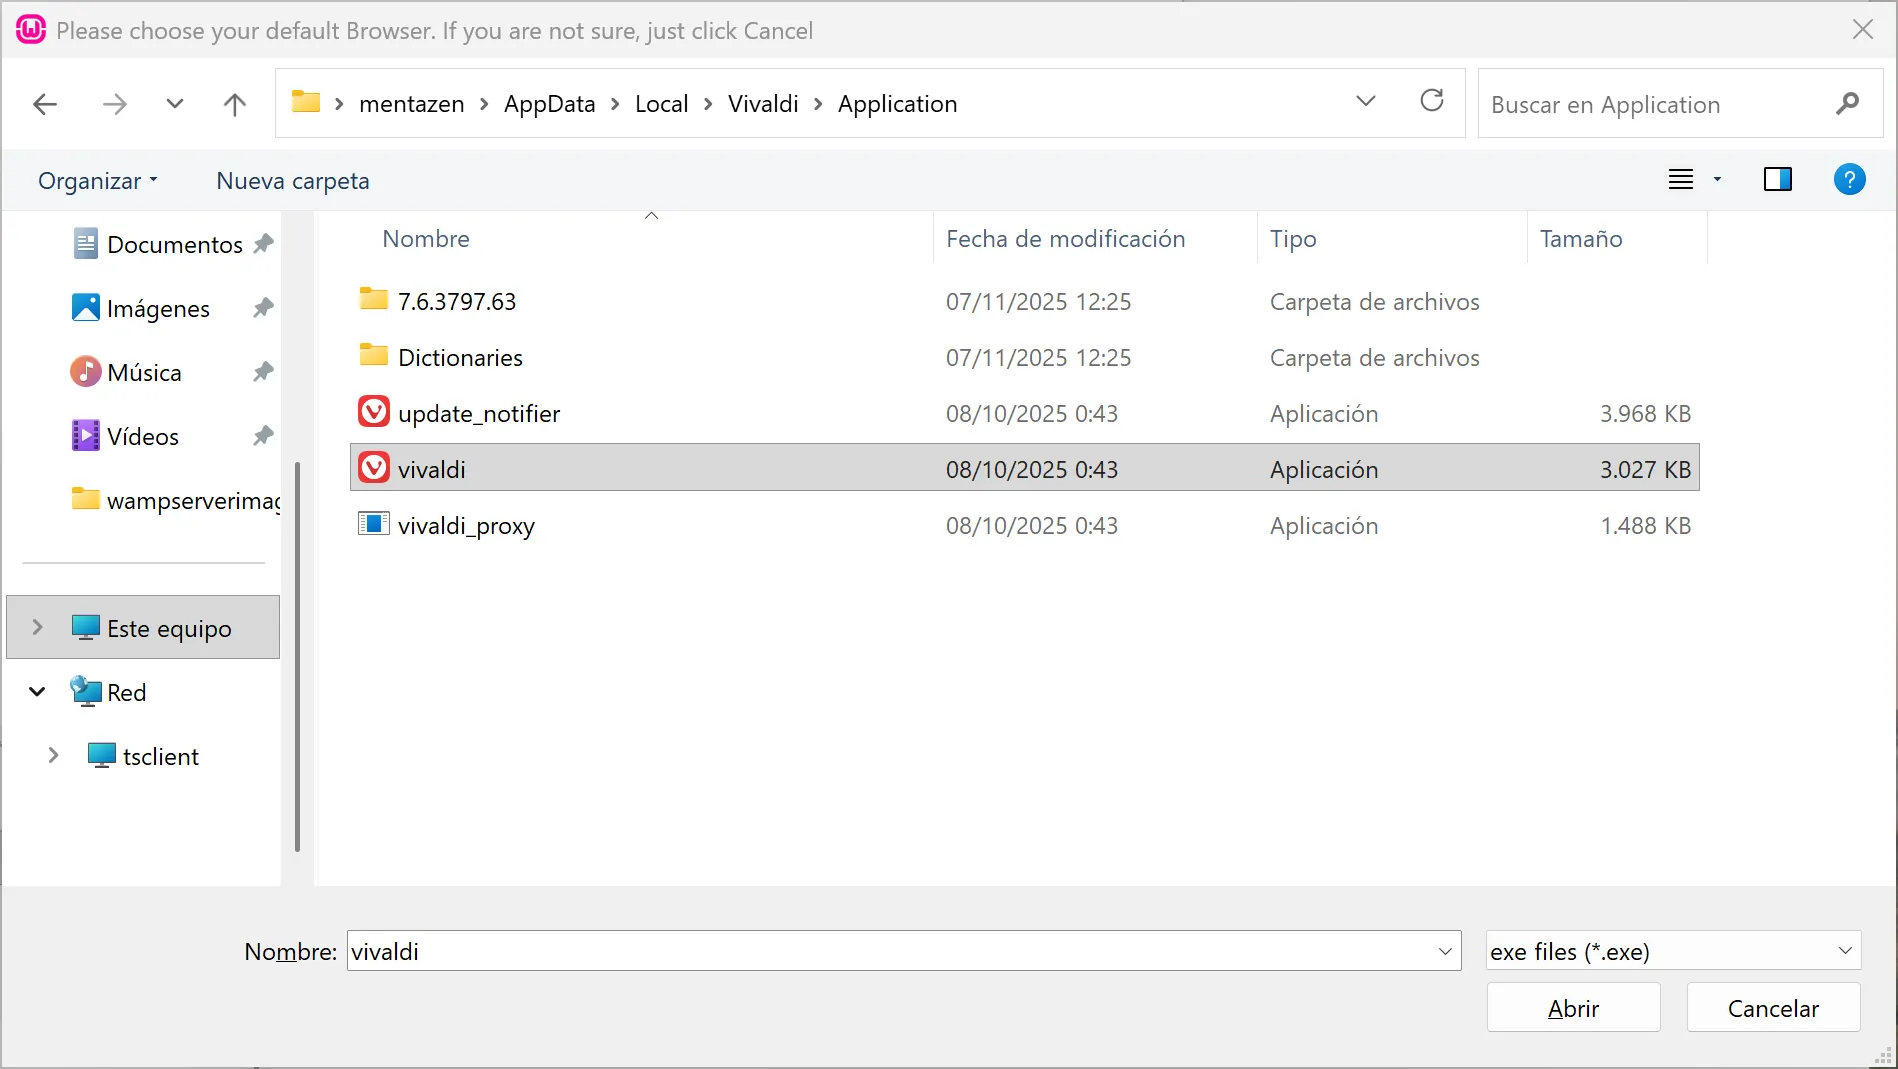
Or click “Yes” and set your preferred browser. In my case, I use Vivaldi:C:\Users\your-user\AppData\Local\Vivaldi\Application\vivaldi.exe
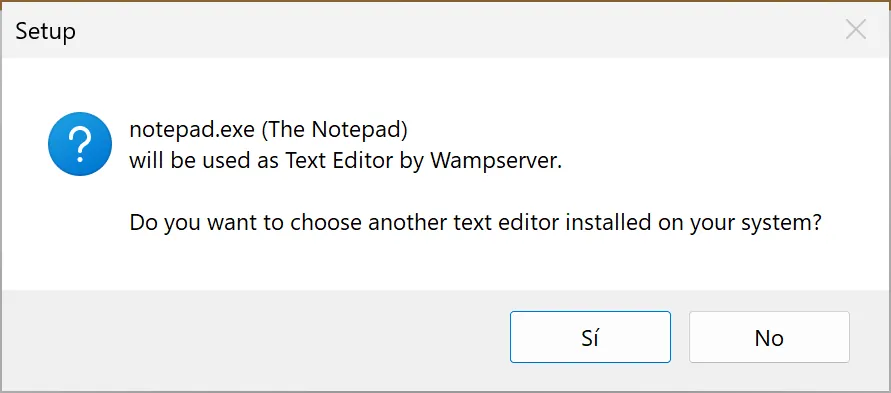
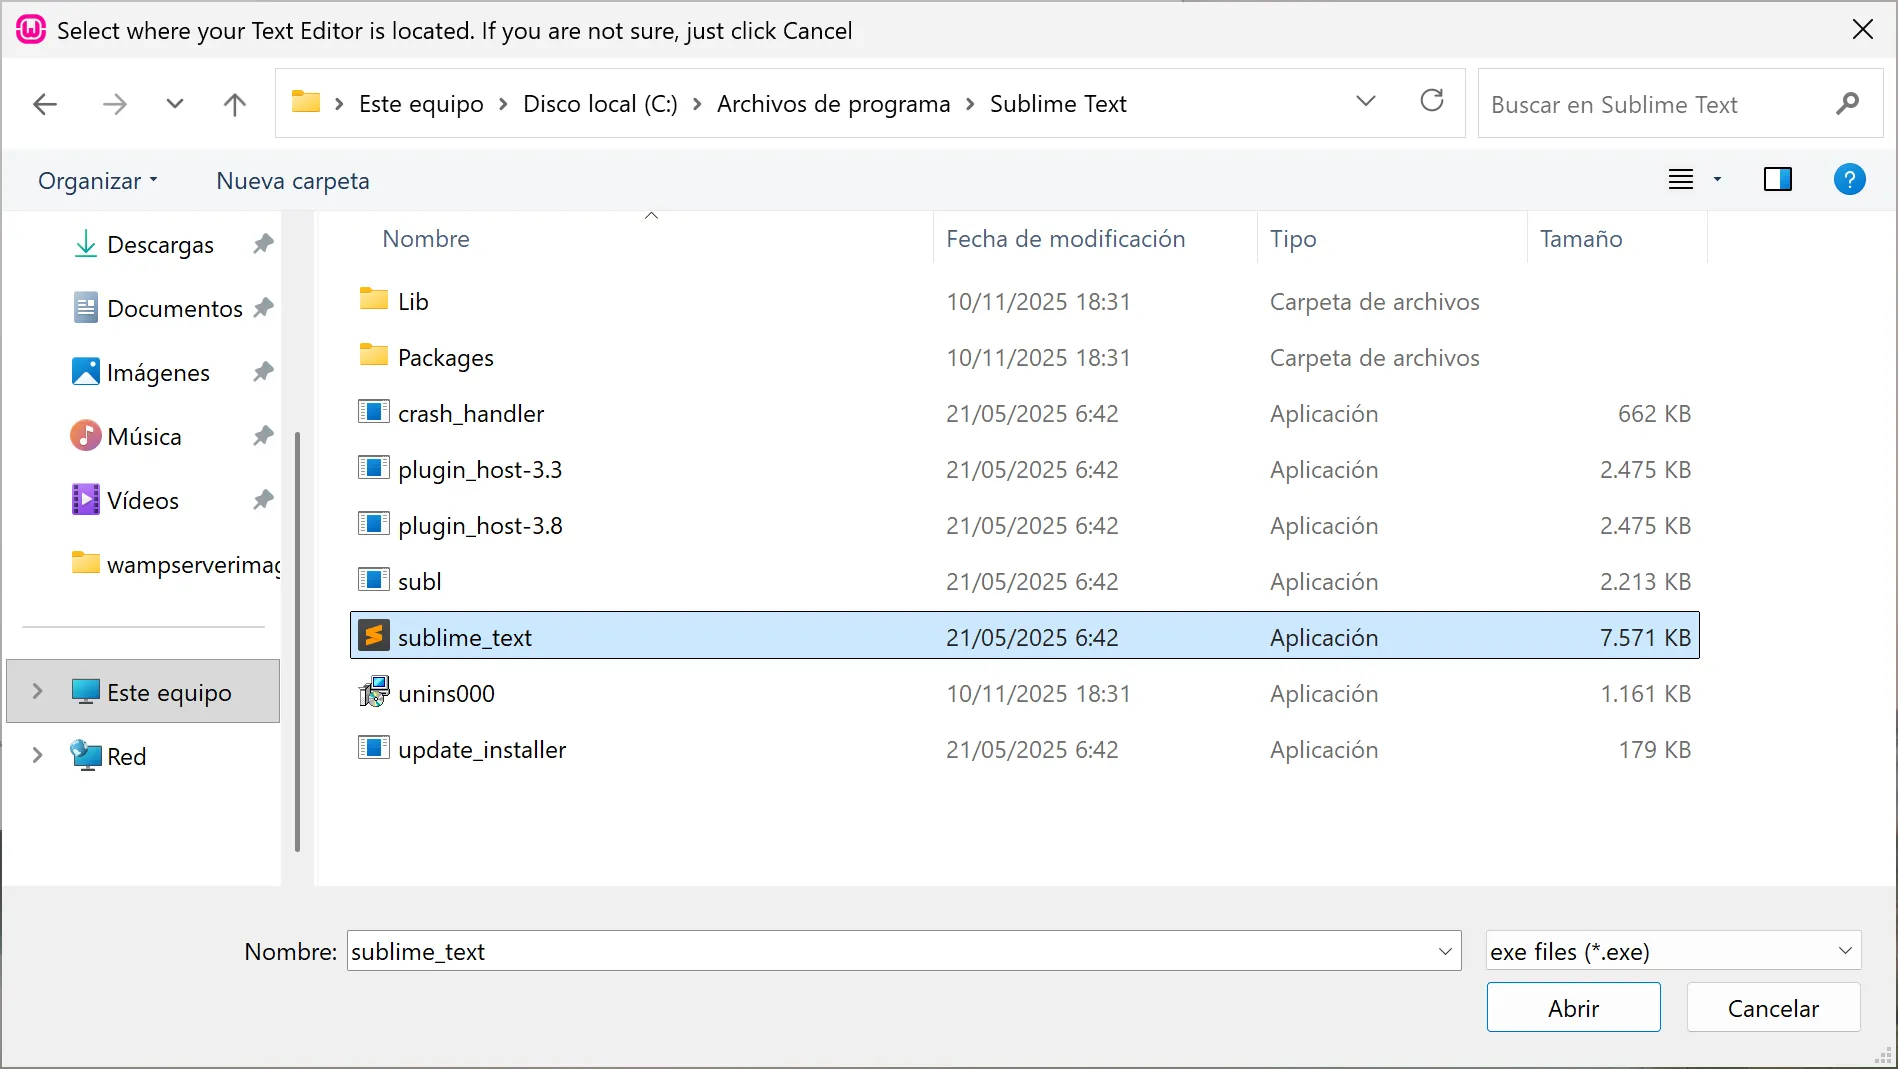
- Next, you’ll be asked to choose a text editor.

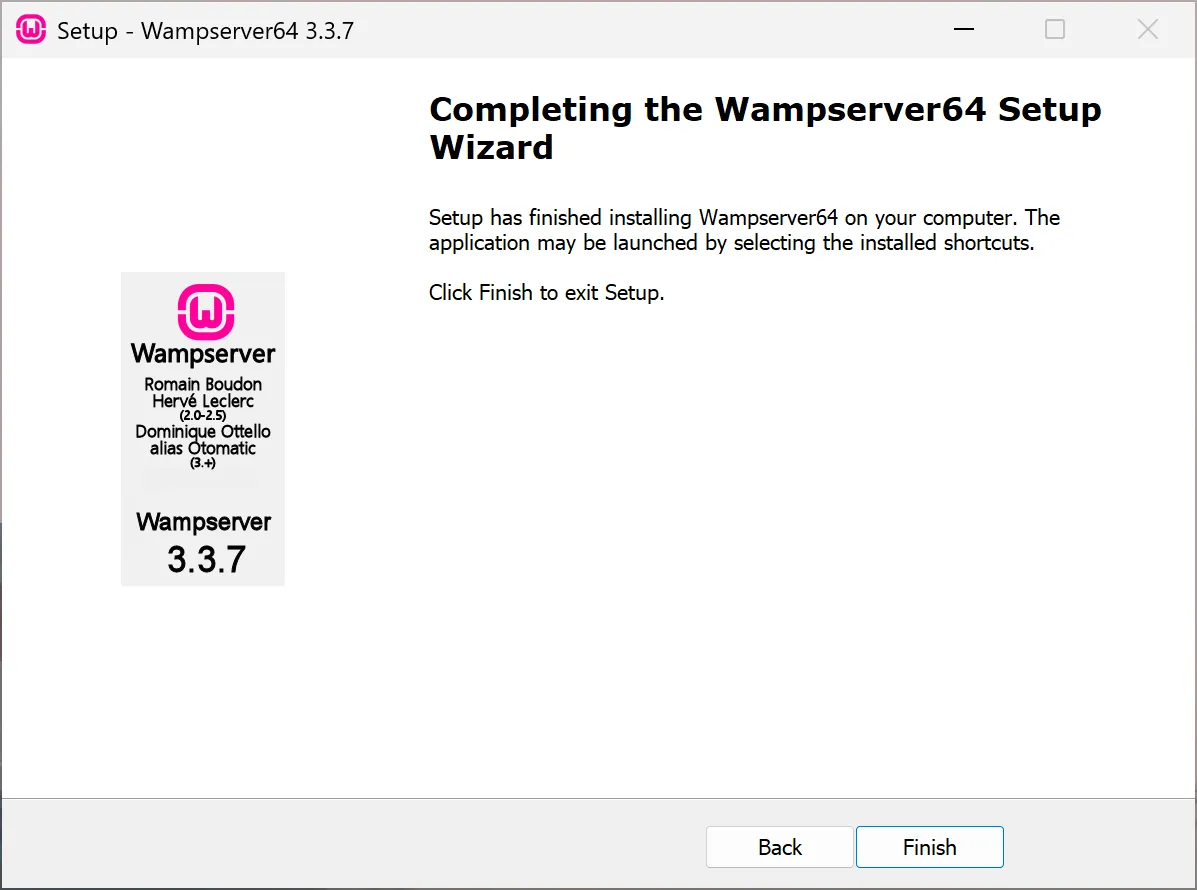
By default, it uses Notepad, but you can choose another one, such as Sublime Text:C:\Program Files\Sublime Text\sublime_text.exe - Click “Next” to continue and then “Finish” to complete the installation.
🧩 Start WampServer
- After installation, a desktop shortcut will appear. Double-click the icon to start WampServer.
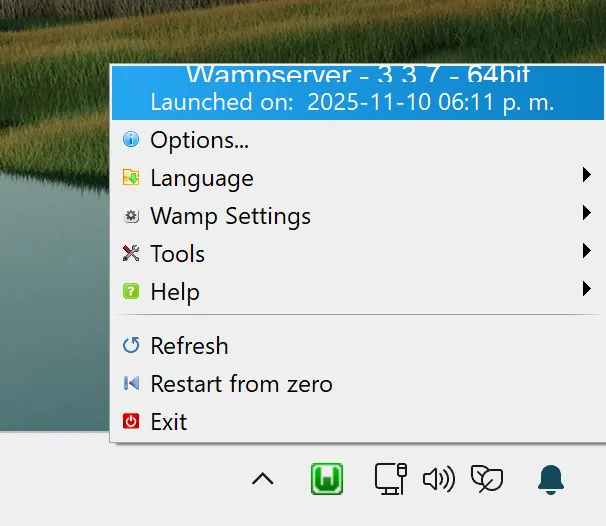
- After a few seconds, the WampServer icon will appear in the taskbar (bottom-right corner).
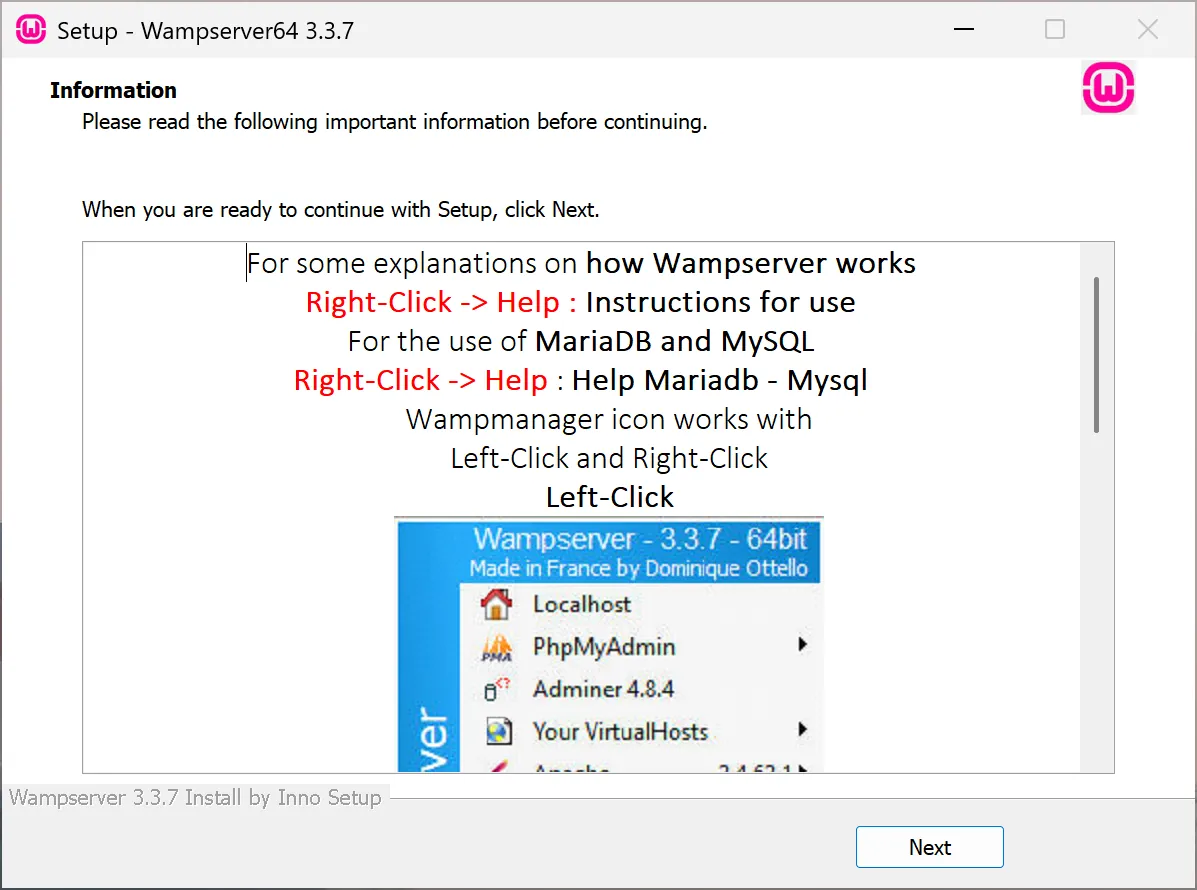
- Right-click the icon and select “Language → Spanish” to change the language to Spanish.

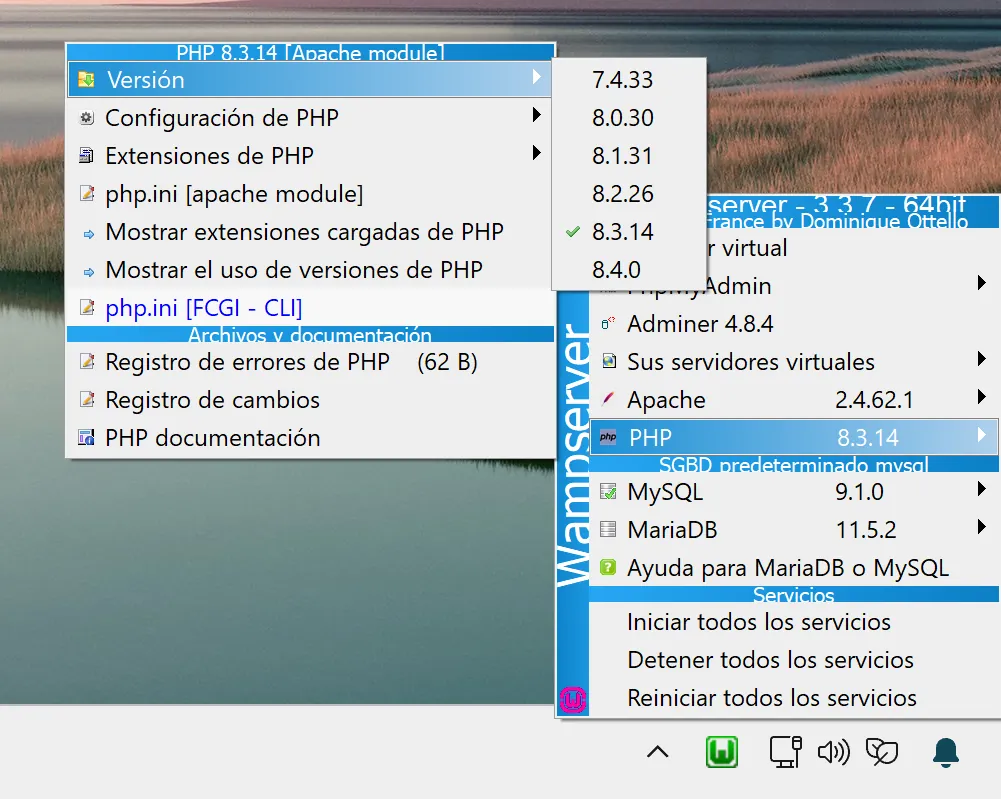
- Left-clicking the icon opens a different menu where you can manage PHP versions and other important server settings.

🌐 Verify that WampServer Works Correctly
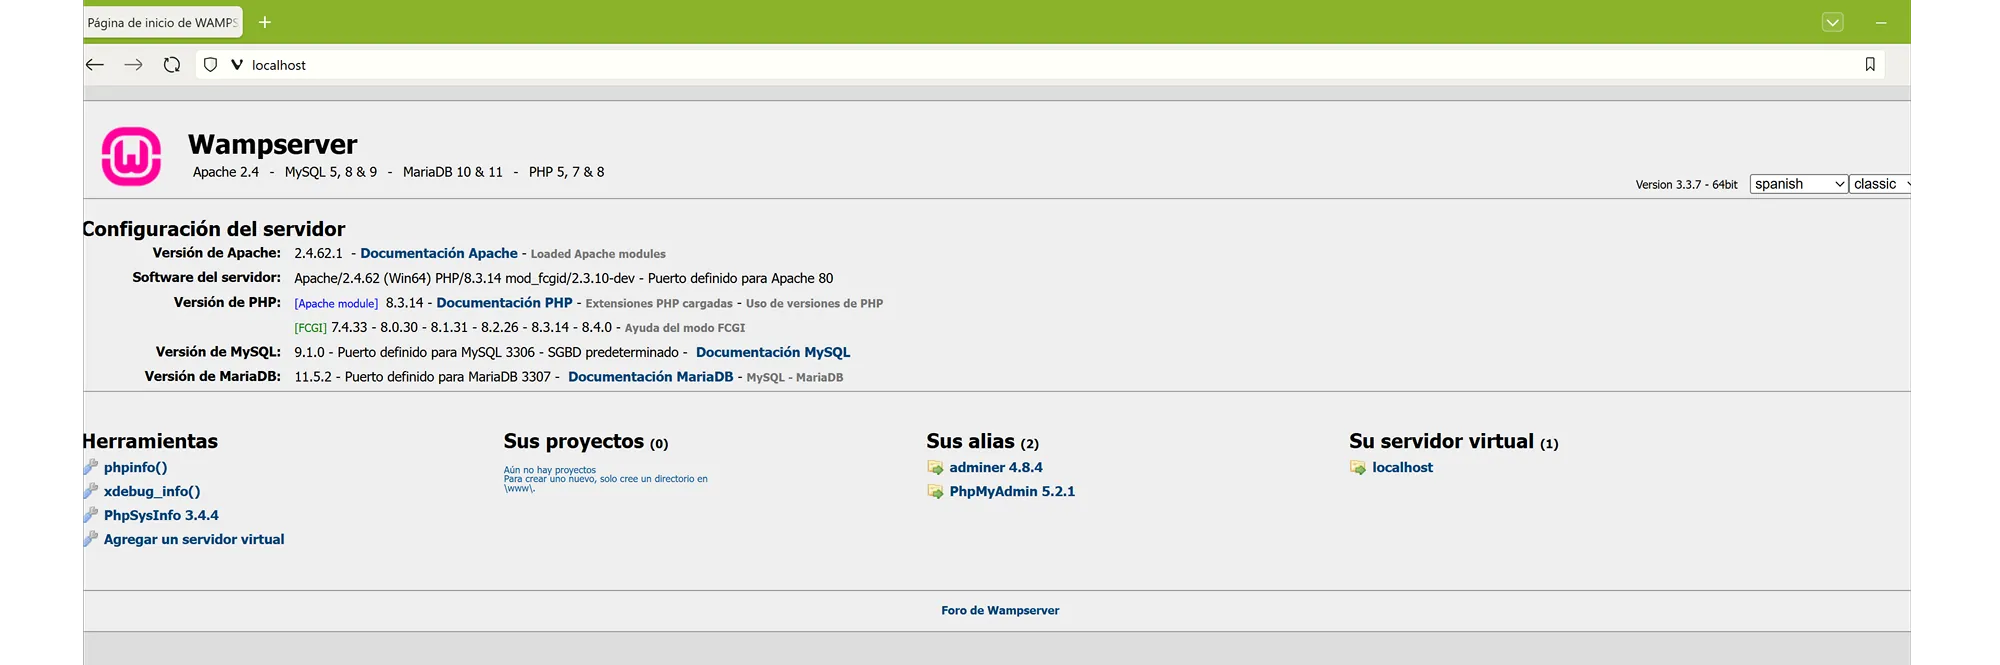
- Open your browser and type:
http://localhost

- If the WampServer information page appears, your server is running correctly. You’ll see the installed versions of Apache, MySQL, PHP, and other details.
📁 Access phpMyAdmin
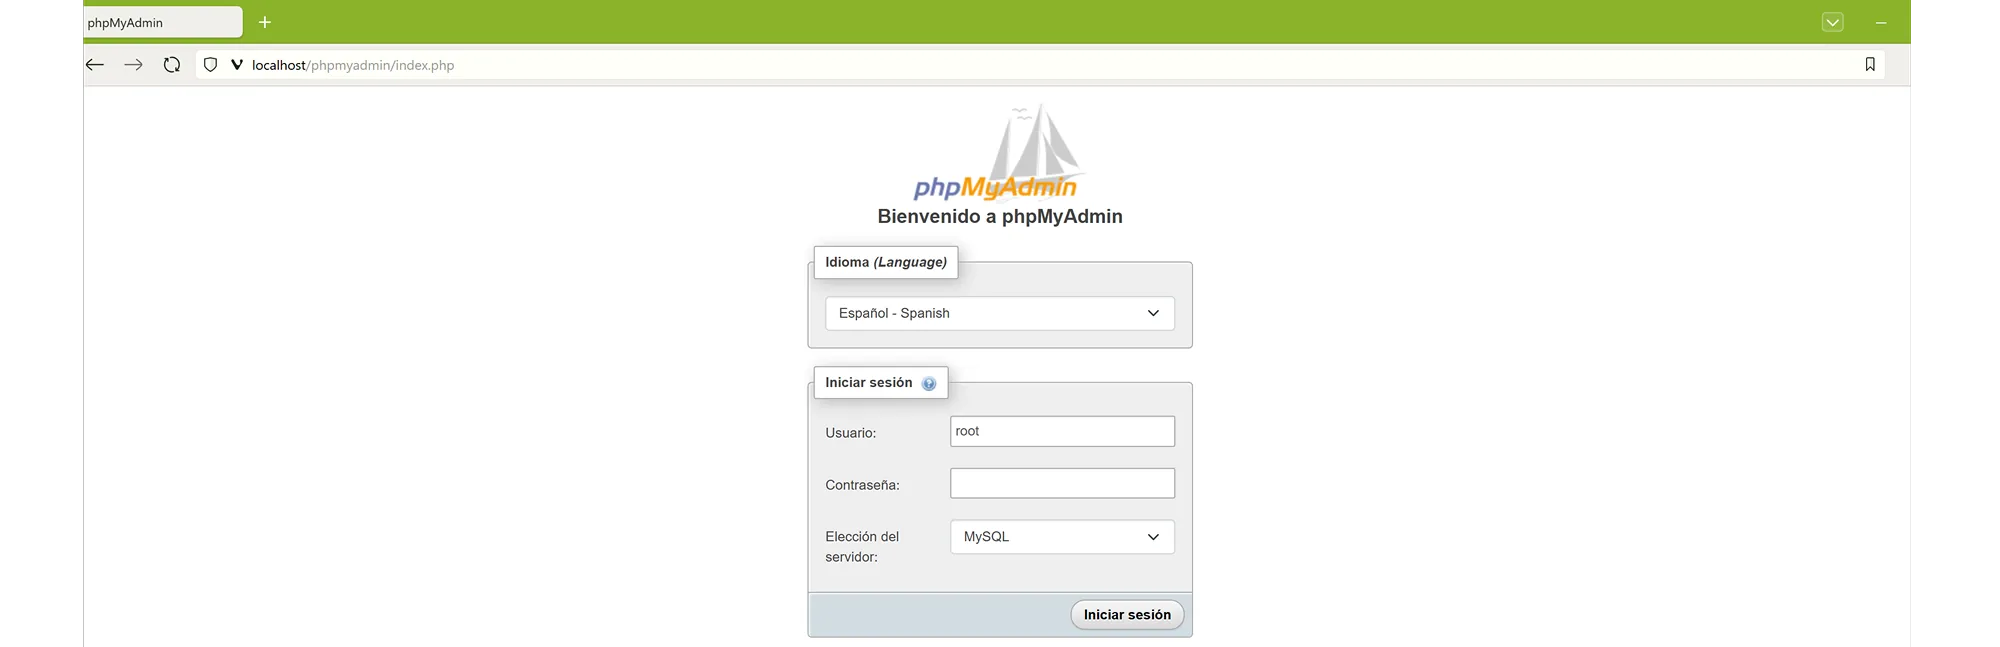
To access the phpMyAdmin panel, open your browser and go to: http://localhost/phpmyadmin/
Enter root as the username and leave the password field empty.
🧱 Create Your First Local Website with WampServer
- By default, websites must be placed inside the
wwwfolder located at:C:\wamp64\www\ - Create a folder for your project, for example:
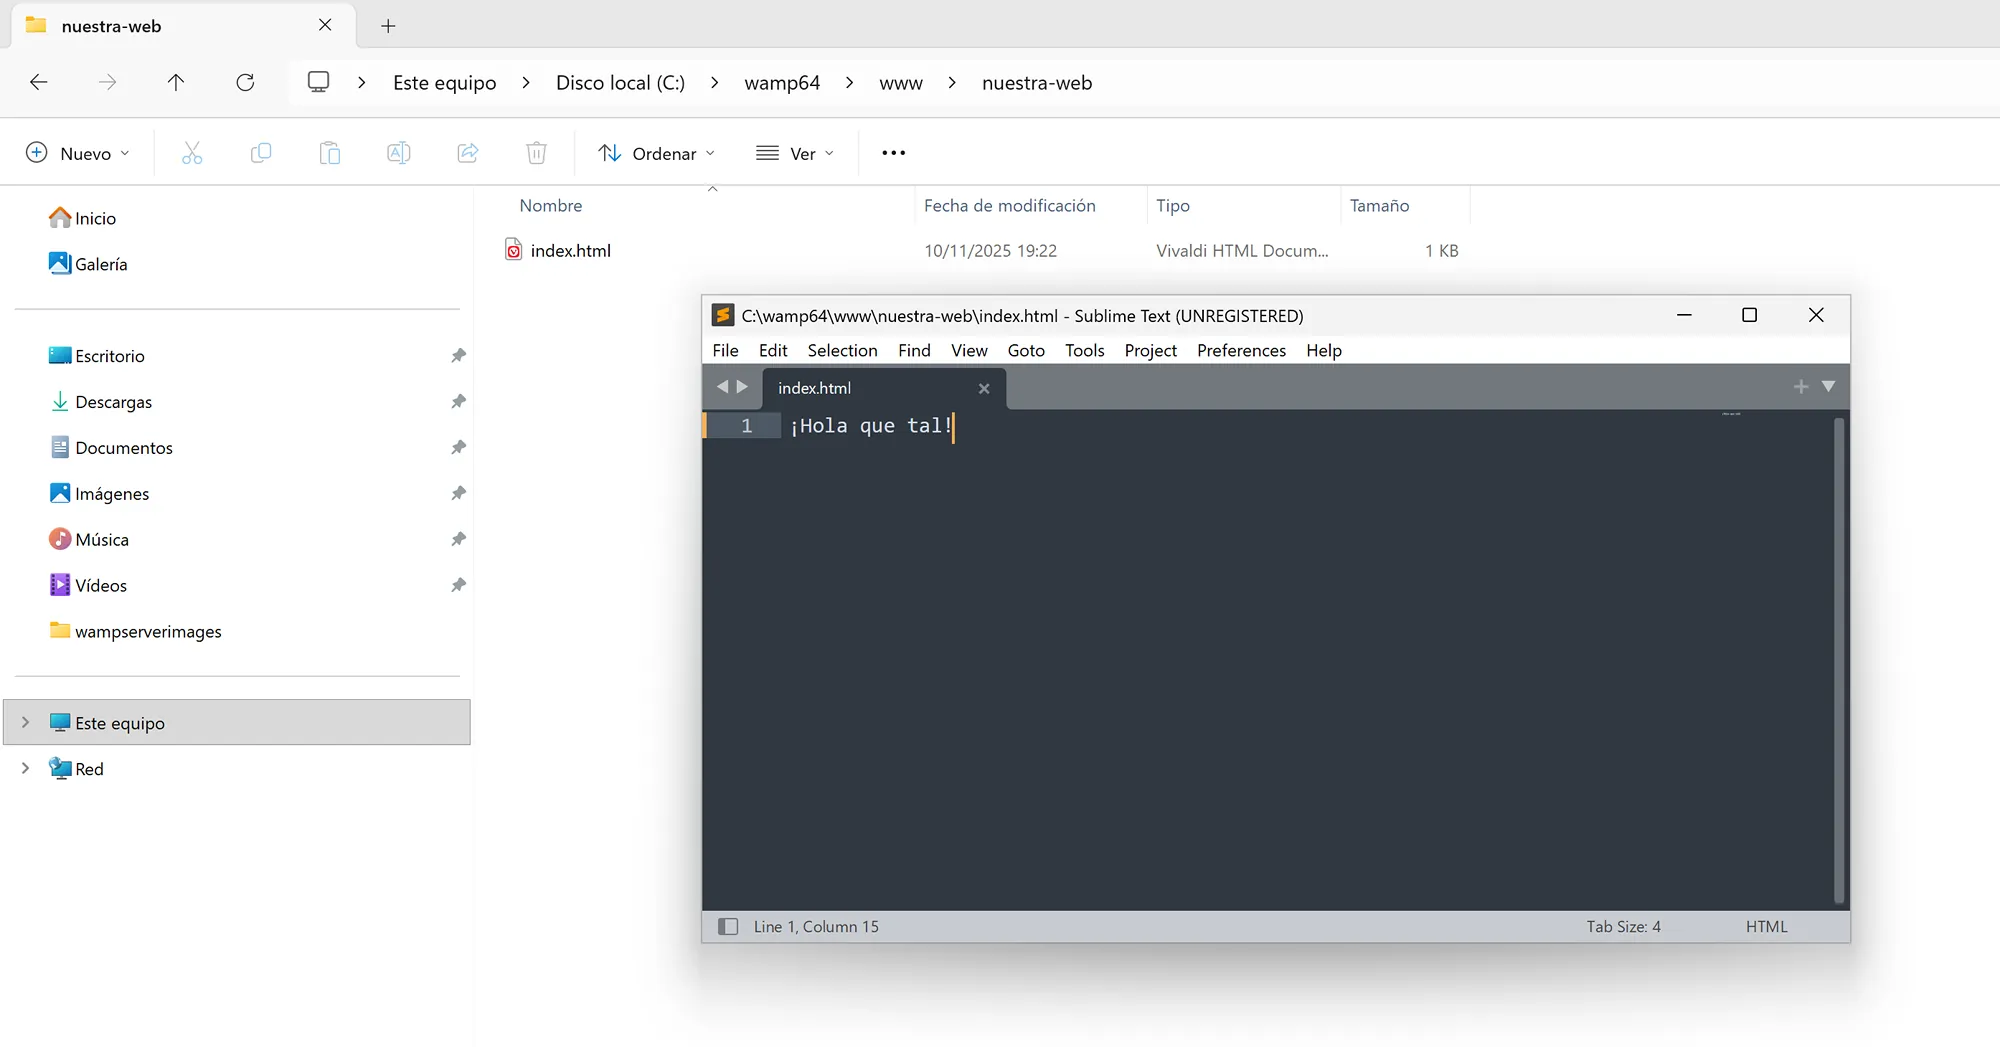
C:\wamp64\www\my-website - Inside that folder, create a file named
index.htmland add this content:Hello there!

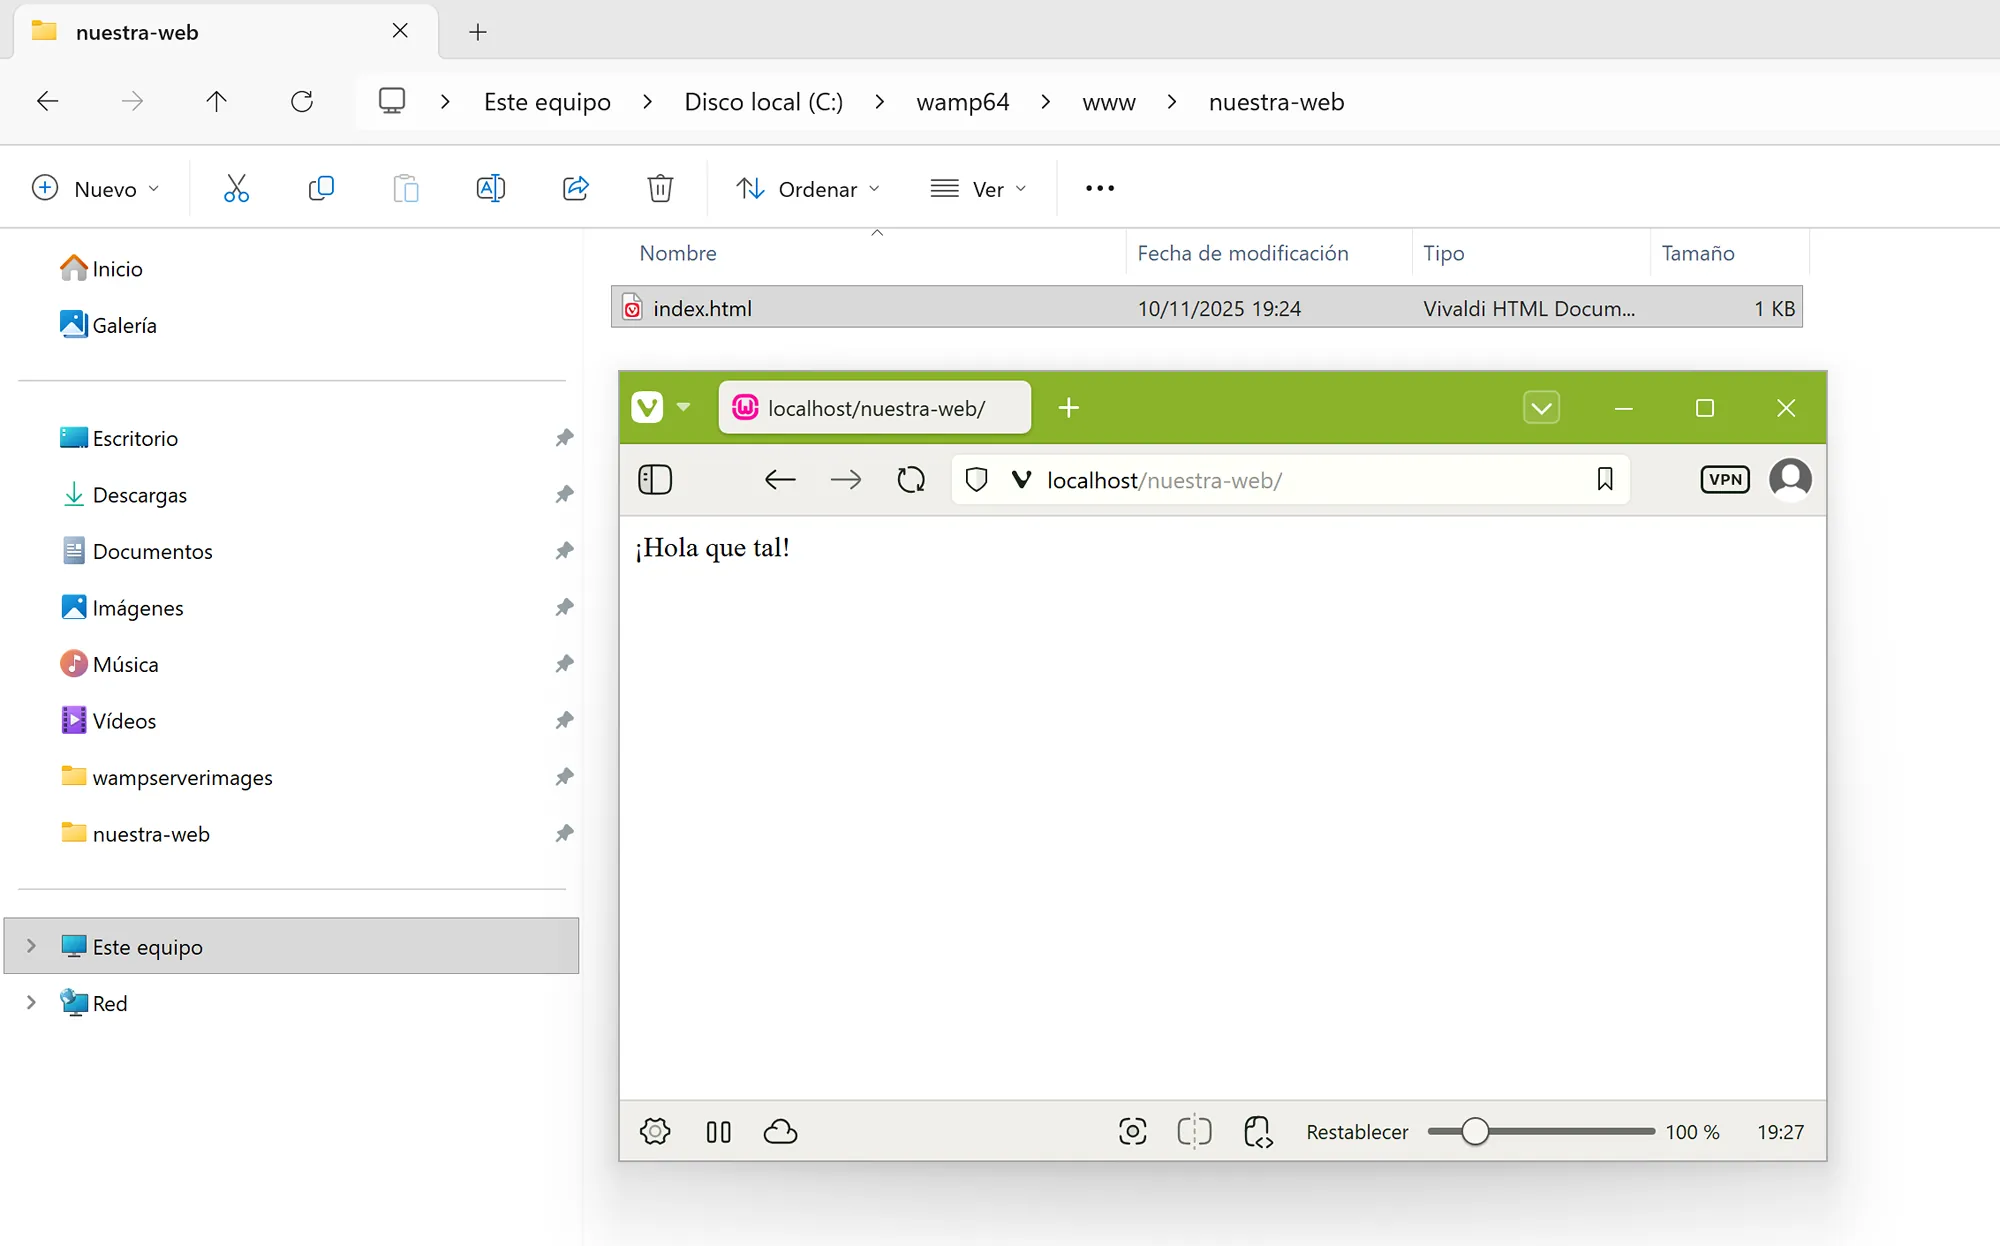
- Save the file and open the following address in your browser:
http://localhost/my-website/

- If you see the message you wrote, congratulations! Your local server with WampServer is working perfectly.
✅ Conclusion
Now you know how to install WampServer on Windows step by step. With this local server, you can develop and test your web projects with Apache, PHP, MySQL, and phpMyAdmin without needing a hosting provider.
Start building your own websites and dynamic applications directly from your PC!